DIY Ironing Board Cover
Are you having a great summer? I took a little break from the blog the last
few weeks to enjoy the sunshine, get out to our cottage, and to finish up the
laundry room! I'm excited to say it's all done and I can't wait to show it to
you later this week.
But for today's blog post, I wanted to share one fun and easy DIY project that I completed for the laundry room: a DIY ironing board cover!
But for today's blog post, I wanted to share one fun and easy DIY project that I completed for the laundry room: a DIY ironing board cover!
DIY Ironing Board Cover
This project came about entirely out of necessity. Our old cover was burned
and stained in spots so I went shopping for a new ironing board cover but
could not find any in a style or new pattern that appealed to me. There is
definitely a lack of choice in these products! Our ironing board would be hung
on a wall and on display so it had to be attractive and fit our new laundry
room.

|
| Can you tell I like flowers?? |
After searching for days at Bed Bath and Beyond, Walmart, Etsy, Amazon and all the usual sources, I decided I could get exactly what I wanted by instead designing and sewing my own ironing board cover. I checked out a few different tutorials and YouTube videos and saw that this would be a simple project that required very basic sewing skills.
Custom Ironing Board Cover Fabric
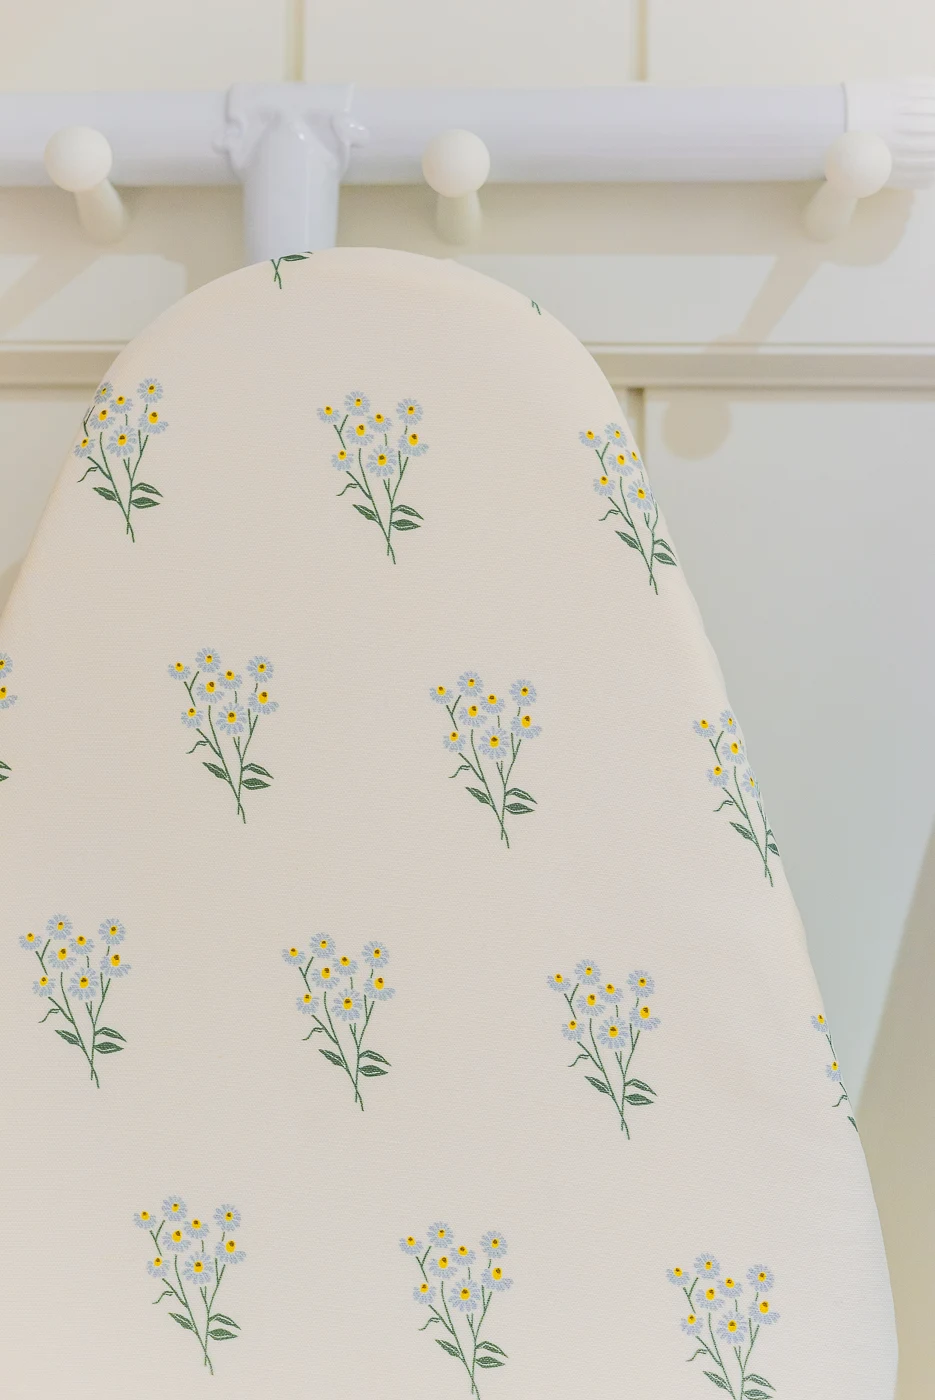
Decorating your home with your own designs is a fun thing to do and there are many sites like Printful or Spoonflower that make the process super easy. By designing my own fabric, I knew my ironing board cover would suit the coastal, vintage style of our new laundry room. I could use the colours and patterns that I liked and create a unique, one of a kind design.
Are you familiar with Spoonflower? I've had my Spoonflower shop for years. As a creator or artist, you can upload your own design and offer it for sale on dozens of different products or on fabric. Or, as a shopper, you can just purchase products made by artists.
I've been obsessed with daisies lately and decided to make my own daisy floral
pattern and had it printed on
linen cotton canvas fabric. If you like this print, you can purchase it
in my shop. I've laid out the daisies in a half-brick repeat pattern, giving it a
block-print kind of look.
What is the best fabric for an ironing board cover?
A cotton fabric is the best material for ironing board fabric covers. Opt for a cotton blend like cotton canvas that is slightly heavier, will lay flat, and doesn't wrinkle easily. You don't want your cover to crease and create wrinkles in the garment you're ironing. You can also use heat resistant fabric. This silver-grey fabric is durable but not stiff and is often used for potholders and oven mitts.Do you need an ironing board pad?
Yes. An ironing board pad is necessary to create a buffer between your ironing board and your garment. It prevents the metal mesh pattern of the board from being transferred onto your garment. Also, the padding provides some cushion and helps to get your garment a perfect smooth iron.What padding do you use under an ironing board cover?
100% cotton batting, often used for quilts, is ideal for ironing board padding. Cotton batting is not too thick and can be layered if you want a slightly thicker padding and smoother surface. Do not use any sort of polyester or poly blend batting under an ironing board cover as it can melt and disintegrate from the heat and steam of the hot iron.How much fabric to make an ironing board cover?
The length of your fabric will need to be as long as your ironing board plus 6". The width of your fabric will need to be as wide as your ironing board plus 6". This will allow you to create a channel to hold the elastic plus enough to wrap around the side and onto the bottom of the ironing board.How To Make An Ironing Board Cover
This ironing board cover tutorial is very simple and is a great beginner sewer project. This easy tutorial can be used to make different size covers, for table top ironing boards to full size boards. Ready to ditch your stained or burned old cover? You'll need just a few materials and space to complete your project, like a sewing room or even a dining room table like I used.
Materials:
- Cotton canvas fabric
- Cotton batting
- 1/4" elastic (length of the elastic should be at least 2.5x the length of your ironing board)
- Safety pin
- Tailor's chalk
- Ruler
- Sewing pins
- Sewing scissors
1. Measure and Cut the Fabric
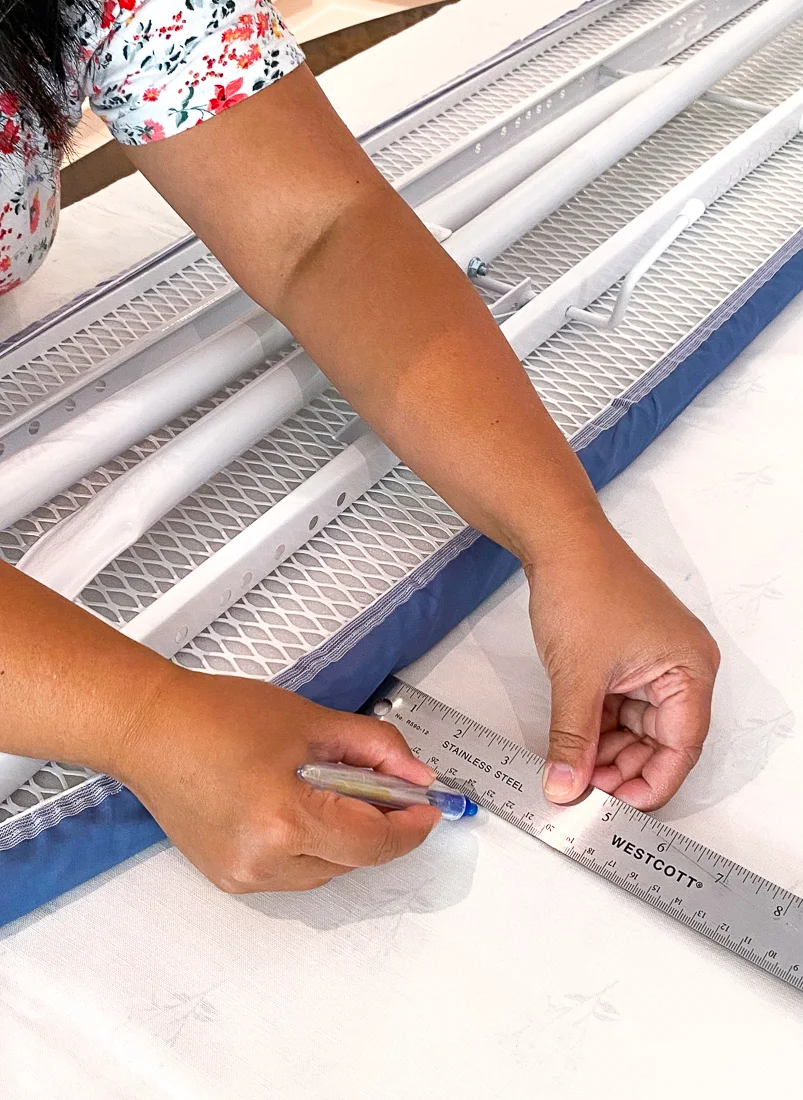
Lay the fabric on your table with the wrong side of the fabric facing up. Place your ironing board face down on top of the fabric. If your fabric has a pattern, make sure the pattern is lying straight. Using your tailor's chalk and ruler, make marks 3" out around the entire board. Connect the marks using your chalk, then cut along the chalk line.2. Measure and Cut the Padding
If you are adding new padding, lay your cotton batting on the table. Place your ironing board on top of the padding. Cut the batting 2" away from the board. This will provide room for the batting to go across the top of the ironing board and down the sides for a soft curved edge. TIP: You can also detach and use the batting from your old ironing board cover.3. Make The Channel for the Elastic
Starting in the middle of the long side of the board, fold in the edge of the fabric 1/4" and then 1/2" again. Pin this fold. Continue to make this fold around the entire edge of the fabric and pin every 2". This creates a channel in which to insert the elastic. When pinning the curved edges, place your pins closer together, about 1" apart. This will allow you to direct the fabric more easily and get a nice smooth curve.4. Sew the Channel
Start sewing along the bottom edge of the folded channel. At the curves, you might have to sew in small folds in the fabric. This is fine; you won't see the folds once the cover is on the ironing board. Sew slowly around the curves, ensuring that you maintain a channel that is at least 1/4" wide. Stop sewing 3" before your starting point.5. Insert the Elastic
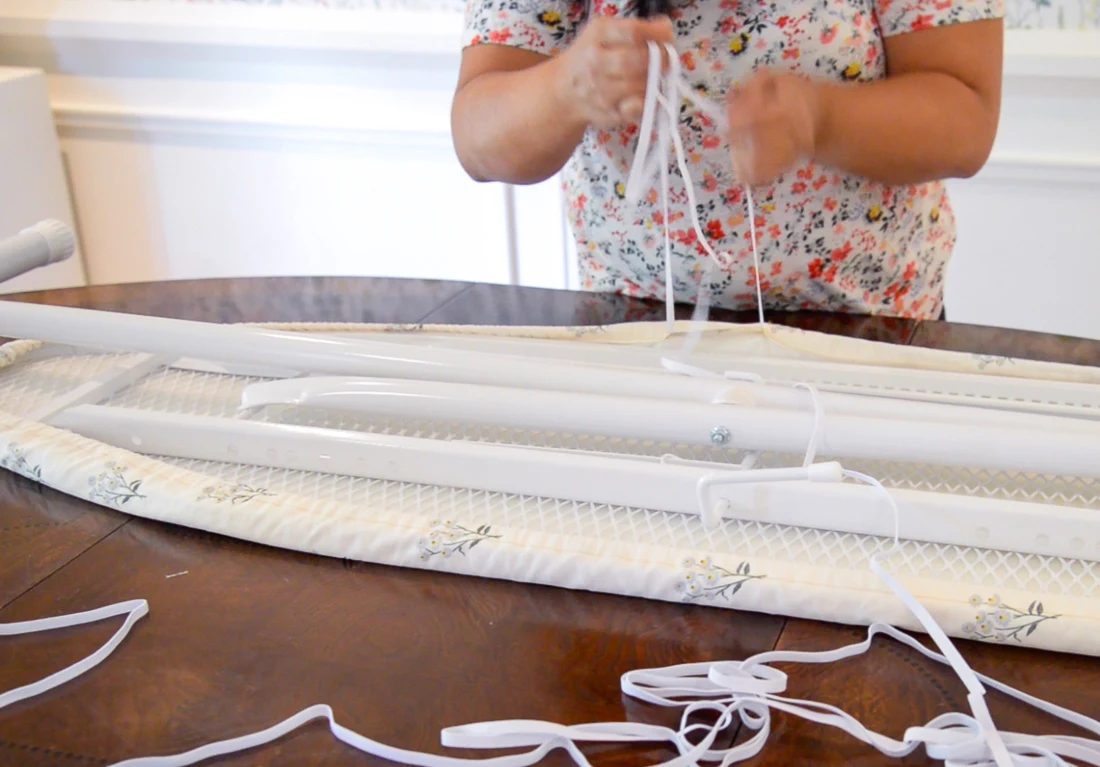
Attach a safety pin to one end of the elastic. Insert the safety pin into the channel. Slowly feed the elastic through the channel and continue until the safety pin comes out of the opening at the end. Pin the safety pin to the fabric so that it does not fall back in. Stretch the fabric so that it is not bunched up too lightly around the elastic.6. Measure and Cut the Elastic
Place your ironing board right side up on your table. Place the padding on top of the board and then put the cover on. Ensure that the perimeter of the cover wraps and sits nicely under the board. Turn the ironing board upside down. Unhook the safety pin and pull and tighten the two ends of the elastic. Overlap the ends then pin them at the appropriate length. Cut the excess elastic.7. Sew the Elastic
Remove the cover from the board. Sew the ends of the elastic together using a zigzag stitch, going back and forth to ensure a nice tight stitch. Sew the small opening closed.And there you have a beautiful and custom new cover for your ironing board. This is an easy and fun way to bring pattern into your laundry room and perhaps even make doing the laundry more enjoyable! Here is a peek at my new cover in our new laundry space. Can't wait to show you more of this room soon!


0 comments