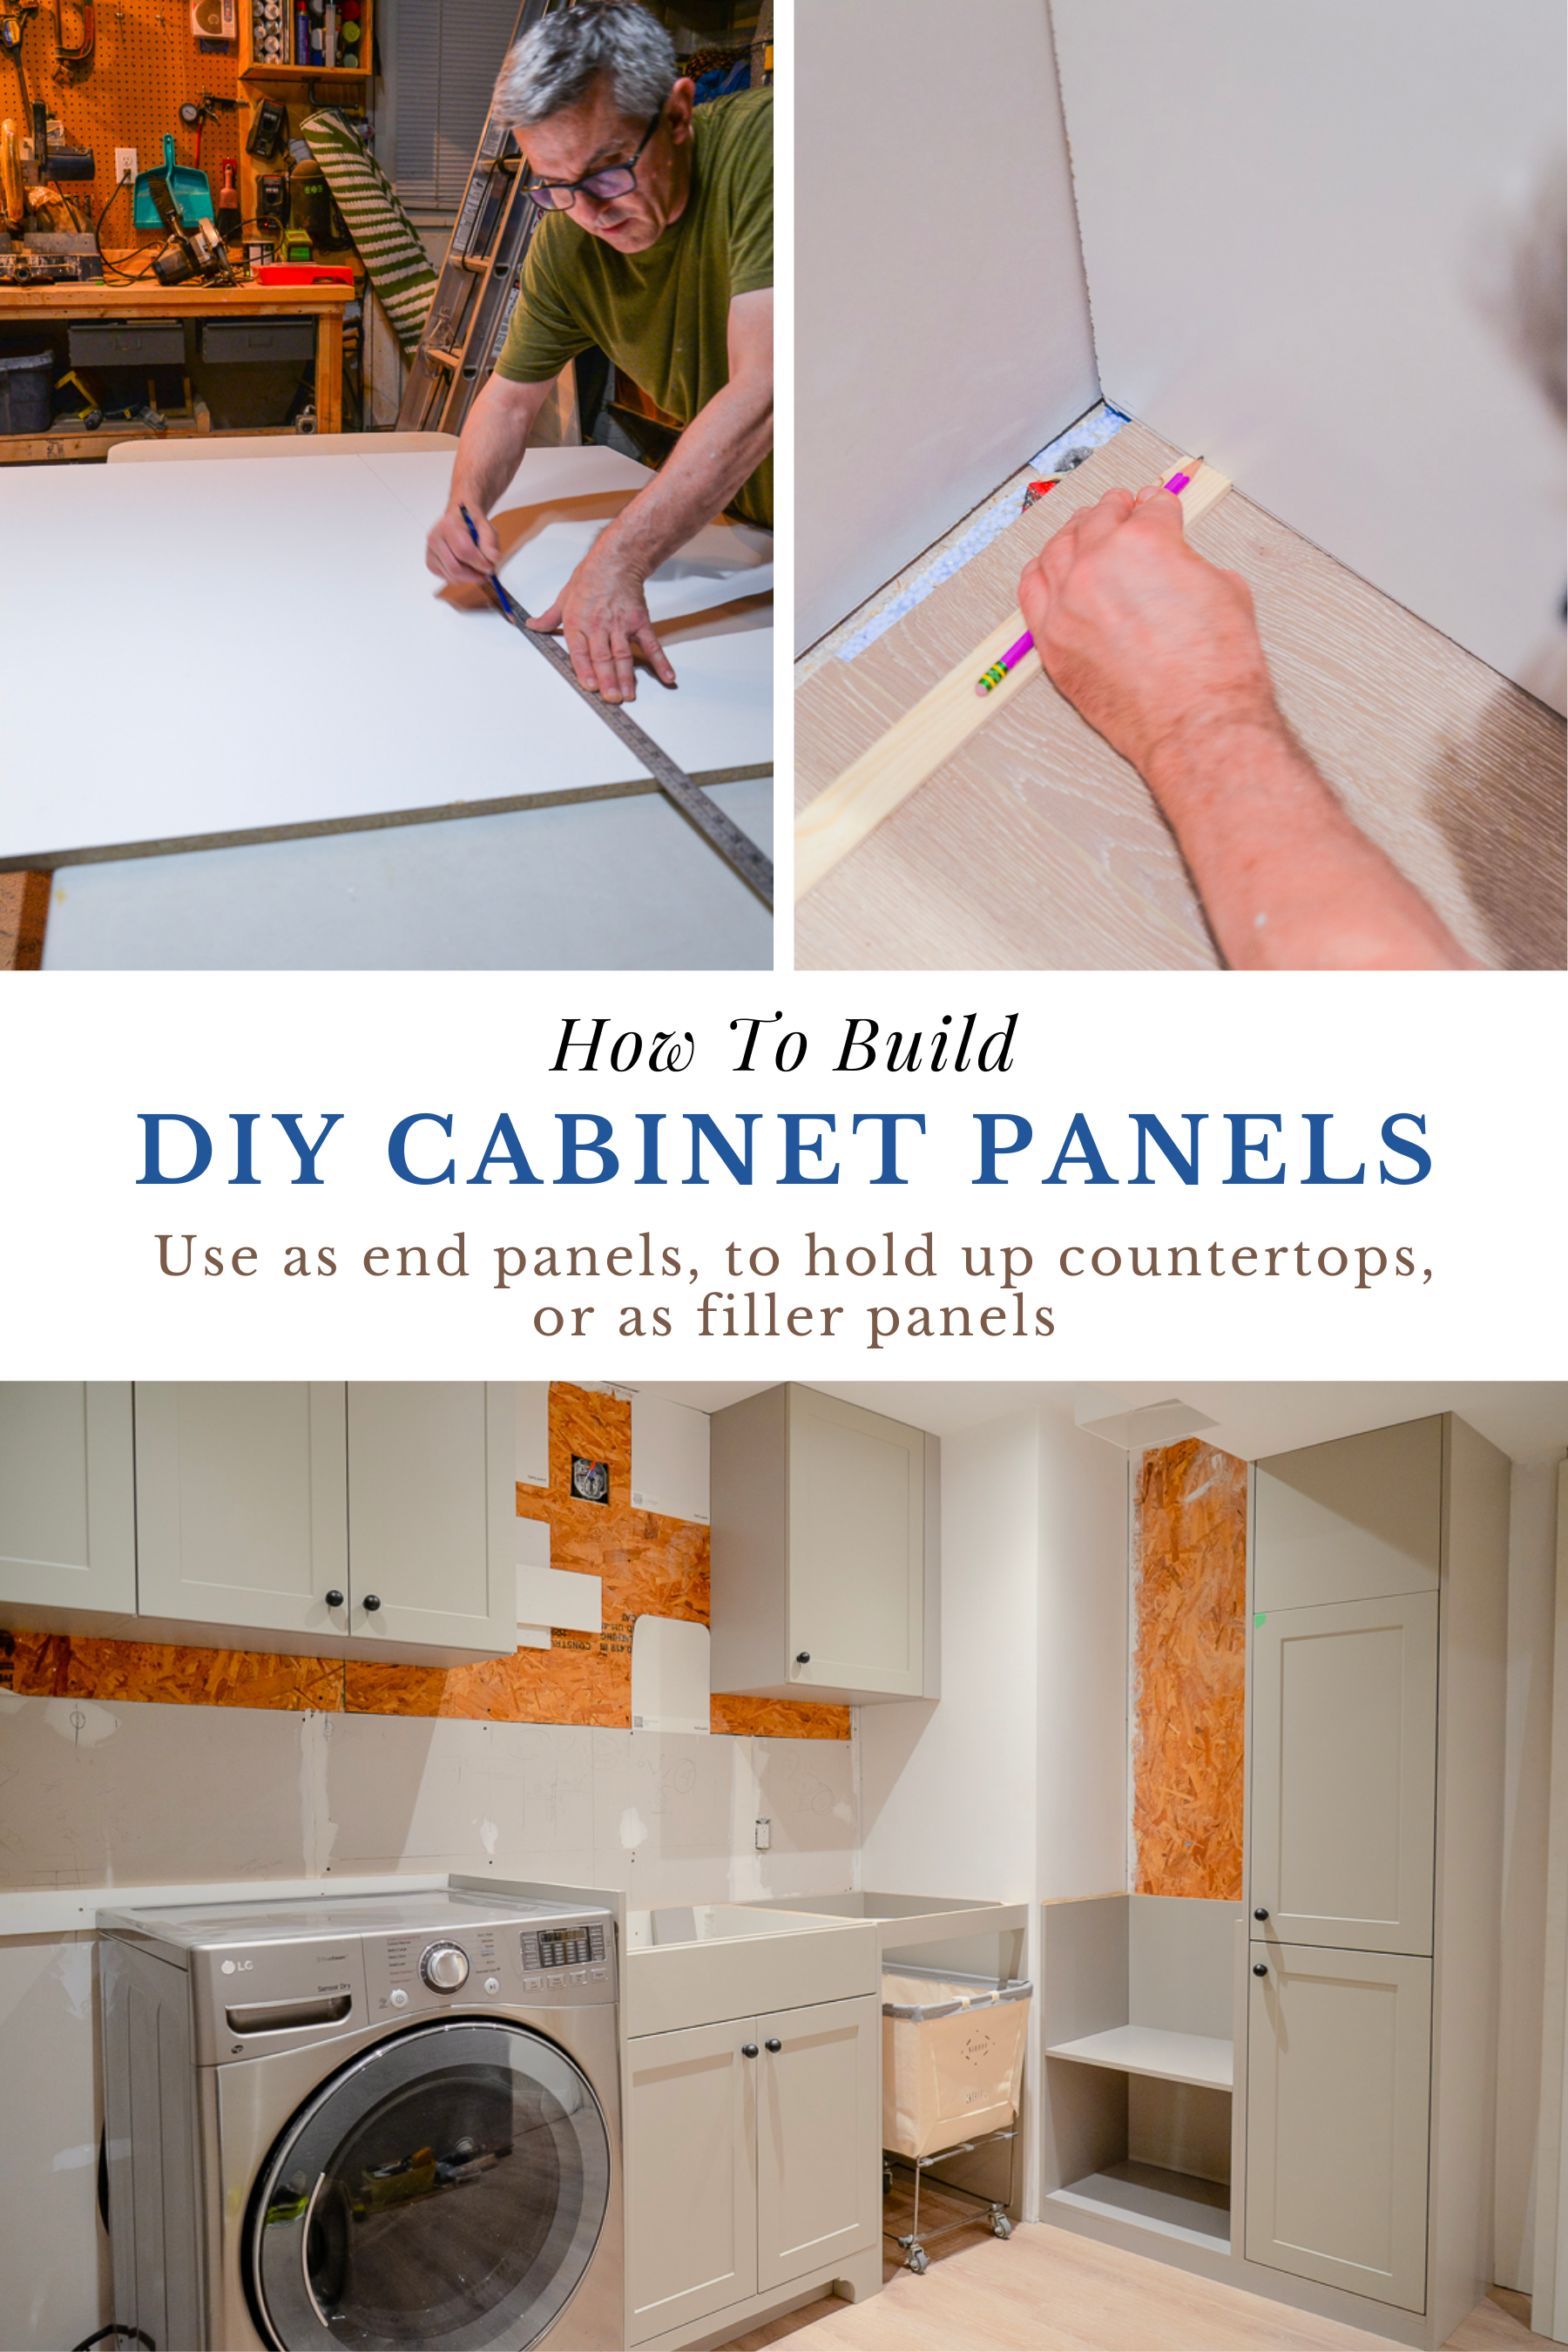
How To Build A DIY Cabinet End Panel
Last we left our laundry room renovation, we had just installed the new
cabinets (the Hampton Bay line in Edson Grey from The Home Depot Canada). This was an exciting milestone! Finally, we could start to see the finish
line to this long renovation that we started as part of the
One Room Challenge, and which so far has taken us 11 weeks.
We can now move on to the finer details, one of which involved the building of
cabinet end panels. But first, what is a cabinet end panel?
Cabinet End Panels
Cabinet end panels are the decorative rectangular boards that are used to
cover the exposed sides of a base cabinet or upper wall cabinet. Cabinet end
panels are also called cabinet gables so you may hear that term used as
well.
End panels can be flat or finished. Finished means that the panel matches the
style of the drawer fronts and cabinet doors (for instance, a shaker profile).
Here's an example of a
shaker style kitchen end panel. A decorative end panel is the perfect way to make your kitchen seem high
end and gives the kitchen cabinets a more complete and cohesive look.
In a kitchen, you will typically have multiple or a run of base cabinets
connected together. Kitchen cabinets may or may not have their sides finished;
the substrate of cabinet frame is visible. If your kitchen cabinets terminate
at a doorway or entrance, the side of the cabinet is exposed and you'll need a
base cabinet end panel to hide it.
Where To Use End Panels
Though end panels are used mostly for decorative purposes, they can be used
for functional or structural purposes as well. Here's several ways to use
cabinet end panels and gables:
- As a refrigerator end panel to create the separate boxed area where a fridge sits
- If your dishwasher sits at the end of your cabinetry run, use an end panel to build in your dishwasher and support the countertop over your dishwasher
- To hide the sides of stacked pantry cabinets
- Use an end panel as legs to support a counter for a desk against a wall
- Use an end panel to support one end of a countertop and create a kitchen island or eat-in counter with room for stools underneath
- Build DIY gables to support a countertop over a washer and dryer
We actually built DIY cabinet gables to support the laundry countertop
in our last home and we'll be using for the same purpose in this laundry
room. The installation will be the same but today, I'm going more in depth
on how to get a finished look to your end panel.
DIY Cabinet End Panels
The
cabinetry
we used in the laundry room was actually finished and painted on all four
sides. We could have left the cabinets as is; there was nothing to hide so end
panels were not technically needed.
However, we needed to create our own custom panels for other purposes:
- to provide support for the counter over the washer and dryer
- to provide support for the counter over the open laundry cart niche
- to provide support for the counter over the basket storage shelving
- to hide the gap at the top of the storage tower
- to hide the sides of the stacked upper cabinets we used to create a storage tower
- to hide the side of the custom toe kick on the base sink cabinet
Most kitchen cabinet lines offer
manufactured end panels, but what if you need a panel in a custom size? You can create your own
DIY cabinet panel with just a few simple materials.
How To Build A Cabinet End Panel
Building a cabinet end panel is not difficult to do. The process consists of
cutting your material, scribing it to fit, finishing it with veneer, painting
it to match your cabinetry, and then installing it. You'll need just a few
simple materials:
- panel material
- tape measure
- pencil
- veneer edging to match your material
- iron
- small block of wood
- utility knife
- medium grit sandpaper
- extra high density foam roller and tray
- 1 quart of all purpose primer
- 1 quart of Behr Dynasty paint
Step 1: Selecting Your Material
The first thing to do in building a cabinet end panel is selecting your
material. We wanted our panel to have the same smooth finish as the cabinets
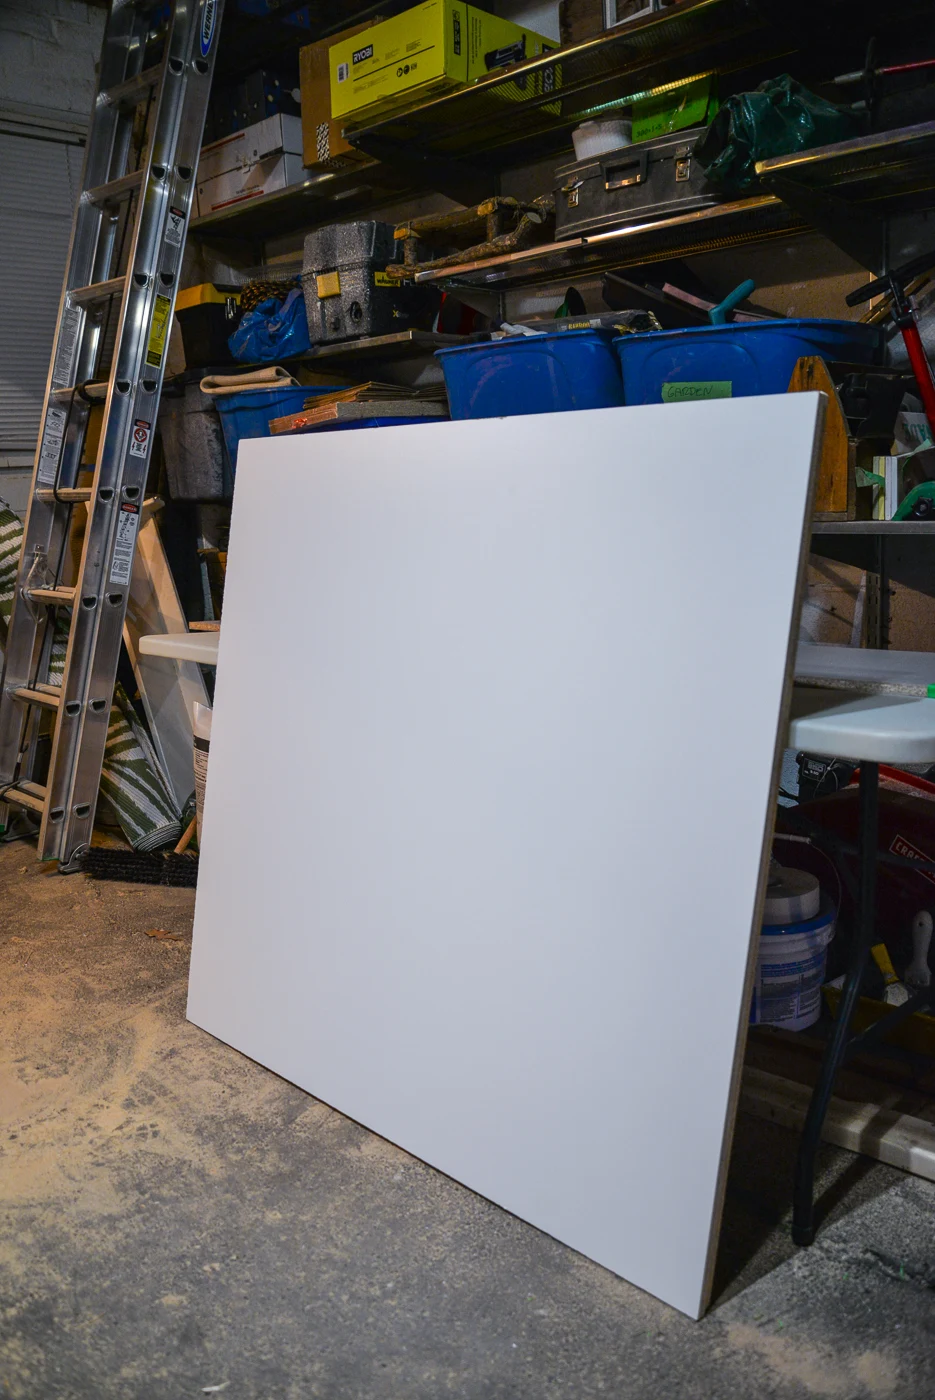
so we used sheets of
5/8 inch 4x8 melamine in white. We chose this material for several reasons:
- the 5/8" thickness of the melamine matched the thickness of the cabinet frame material so the proportions would 'feel right'
- the cabinetry was made of furniture board also known as particle board. Melamine also has a particle board core. The materials would look and feel somewhat similar
- melamine is strong enough to support a countertop (unlike MDF)
- melamine paints easily
- melamine veneer edging was available to cover the rough edges
Step 2: Taking Measurements
Taking into account breathing room between the top of the machines and the
underside of the countertop, plus the thickness of the countertop (1.5"), we
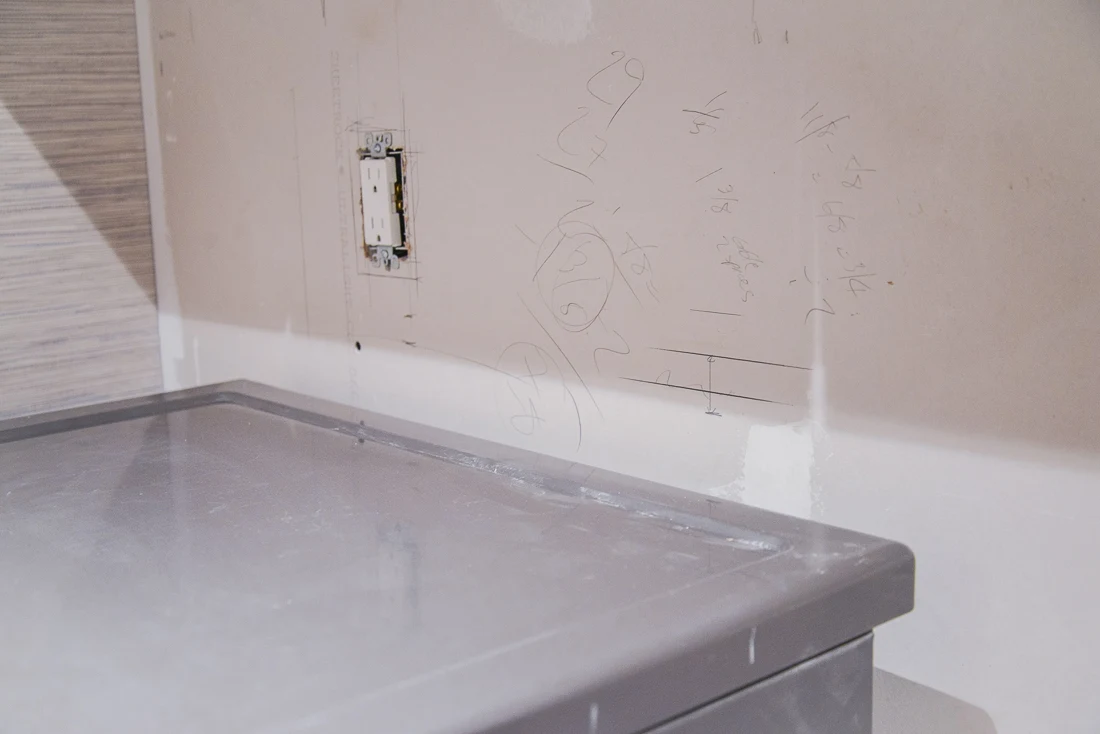
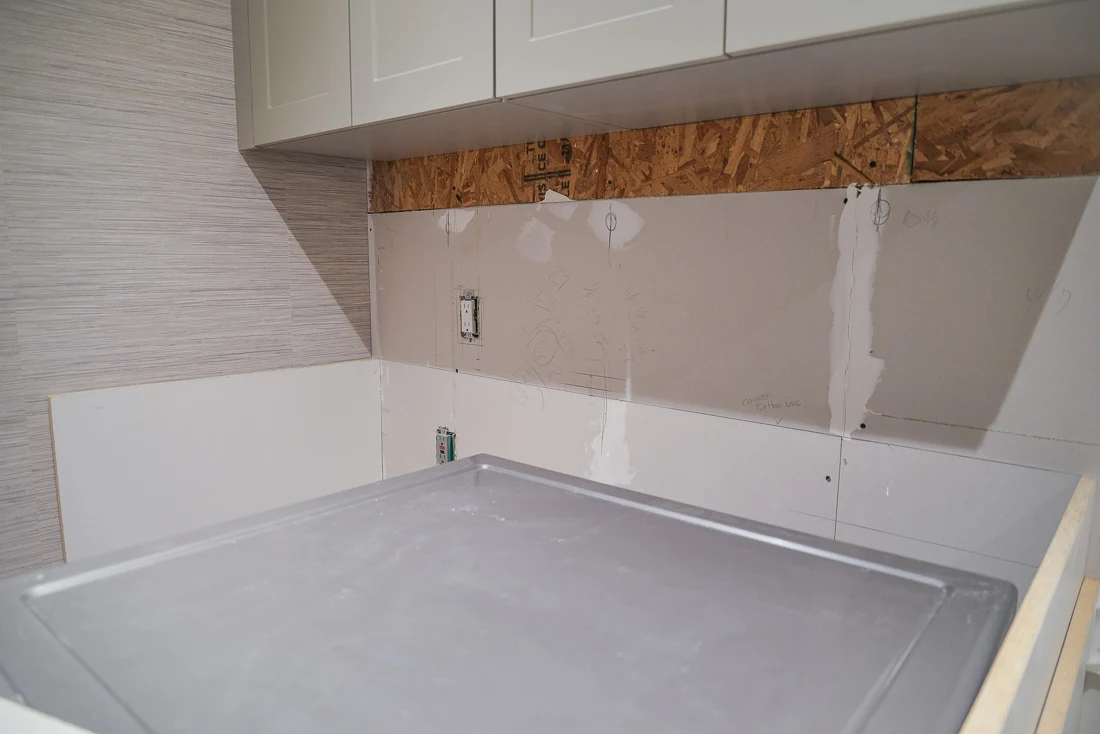
decided the top of our counter would be 3" above the machines. We then drew
level line markings around the room for the panels that would sit to the left
and right of the machines.
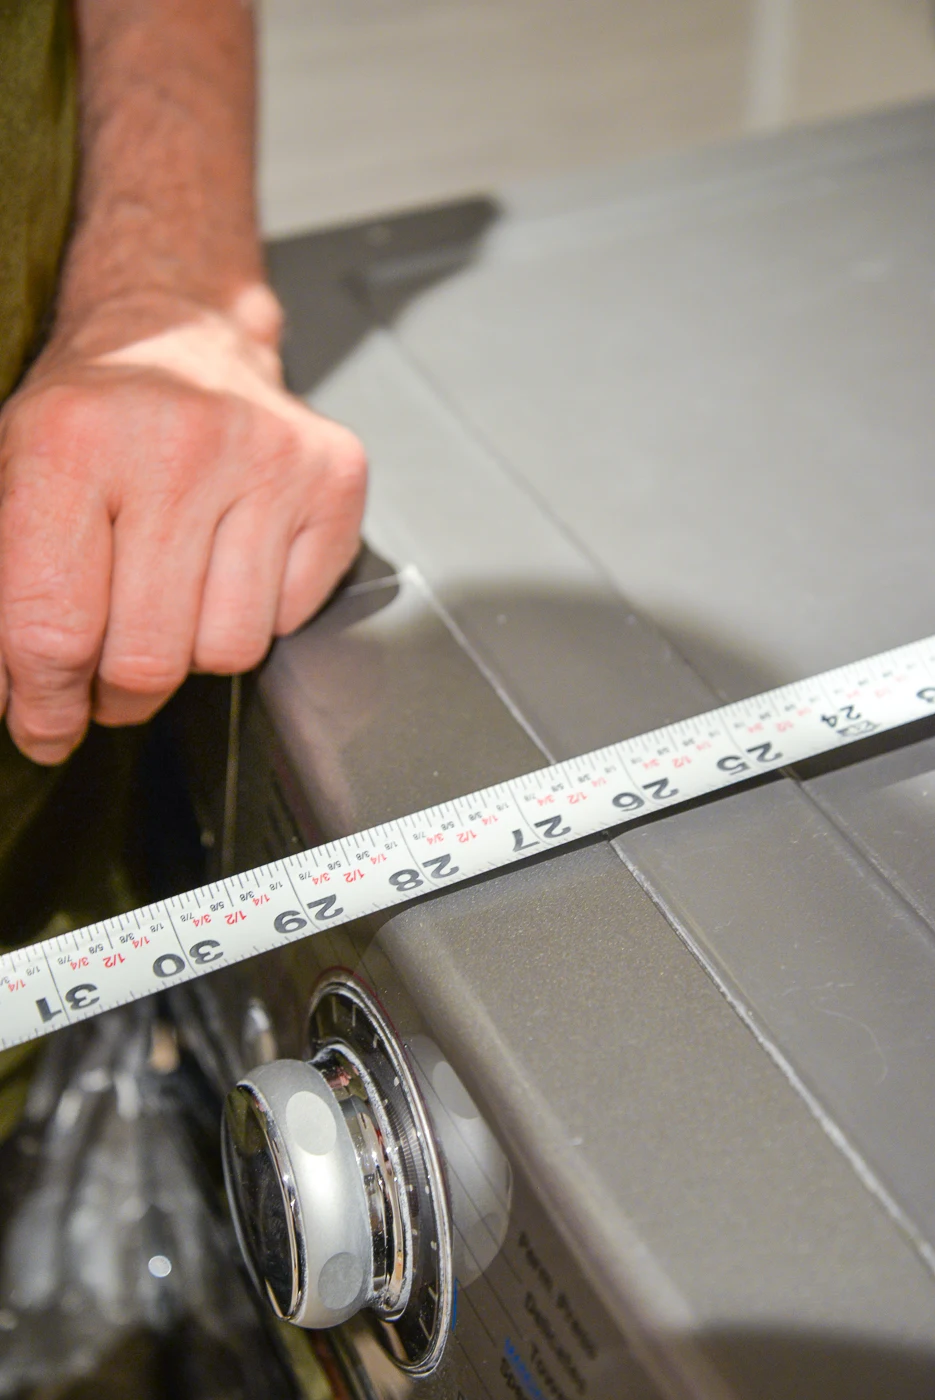
We wanted our first panel to go to the right of our dryer. We put the dryer in
place and pulled it slightly away from the back wall to leave some room for
the dryer vent and plug.
- We measured from the back wall to the front of the dryer to get the LENGTH of the panel. It's very important to take into account space for plugs and cords, gaps, breathing room, and how flush you want the front of the panel to be with the machine - is it flush with the dials? Is it set back? How far do you want your machines to stick out?
- We already knew the finished height of the panel from the level line we had placed on the wall. However, we added 1" to that for scribing. This gave us the HEIGHT of the panel.
Step 3: Scribe for a Perfect Fit
It's rare that a room will be perfectly level and square. After cutting the
panel, we test fit it in place and placed a level on it. The back of the
panel was slightly higher than the front so we needed to shave off some of
the panel at the front. To determine how much to cut off, we scribed the
panel to the floor.
What is scribing? Scribe transfers the contours of one surface onto another
surface. Here, we would trace the slope of the floor onto the bottom of the
panel.
There are lots of
scribing tools you can
buy, but we came up with our own DIY scribing tool hack. To do this, you
need a pencil and a flat "base" that can run along the floor. We used a
scrap piece of wood. You could also use a paint stir stick.
How To Scribe for a Perfect Fit:
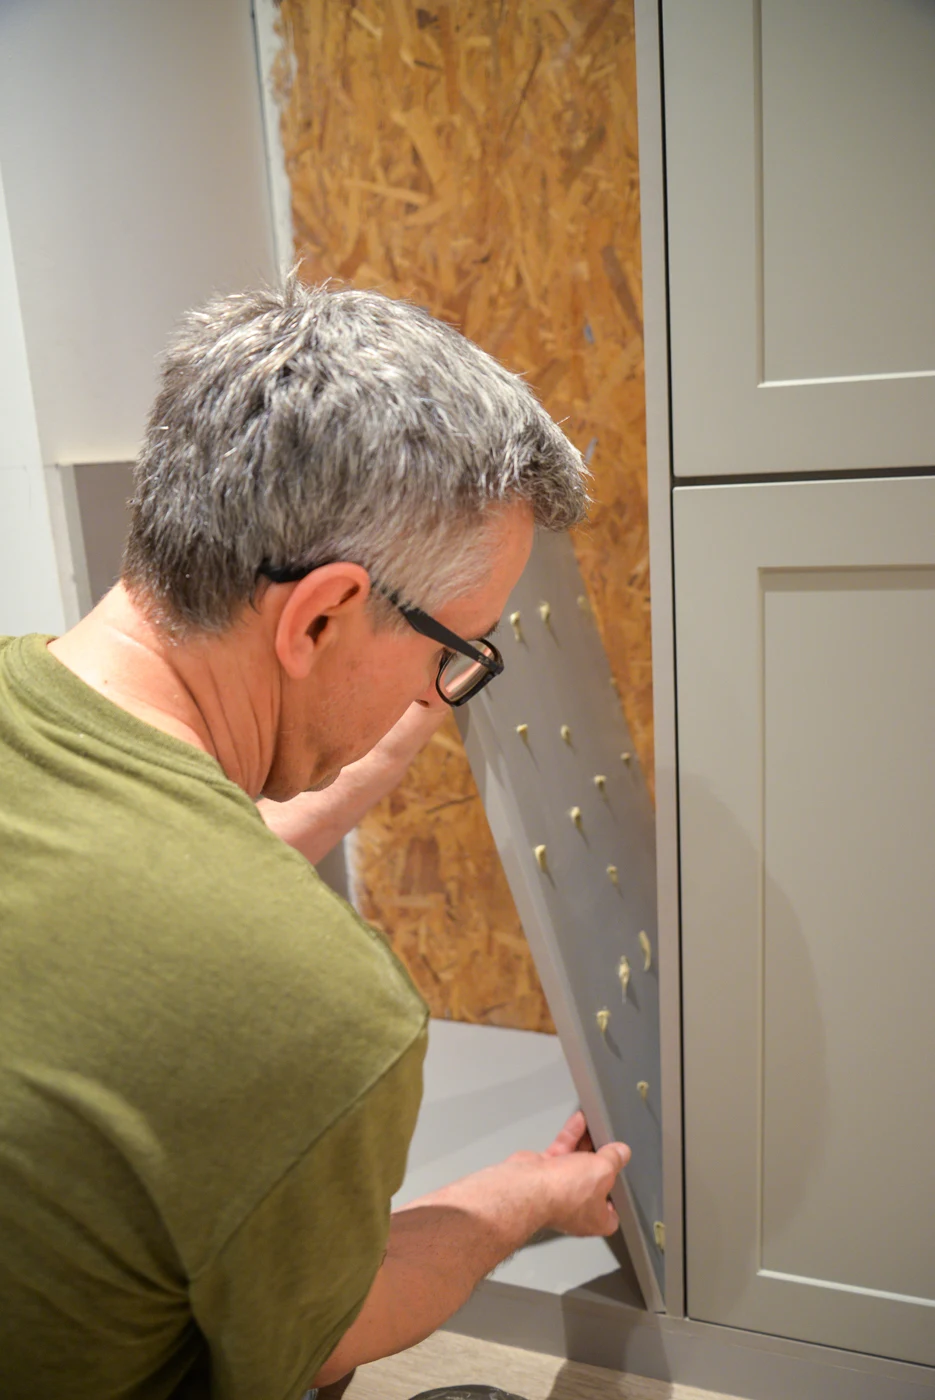
- Position the panel in place. Make sure it is standing straight. Have someone hold the panel for you.
- Place your pencil on top of the base. With the tip of the pencil touching the panel, move the base from the back to the front of the panel. Move the base back and forth to retrace that scribe line
- Cut your panel along the scribe line
- Position your panel back in place. The bottom should be perfectly fit to the floor. Now measure for the height of your panel (in our case, we transposed the level line we already determined in the previous step). Cut your panel to that height.
Step 4: Attach Veneer Edging
Now that your panel is cut to the exact size, you can attach veneer edging
to hide the unfinished edges. We had never used
veneer edging
before, but it turned out to be super simple and easy to use!
You'll want to use veneer edging that matches your material and is wider
than your material. We used
13/16" wide white pre-glued melamine veneer edging
for our 5/8" panels.
Here's how to apply pre-glued veneer edging:
- Pre-heat your iron. Put it on the wool setting with NO steam
- Cut a length of veneer edging 1" longer than your panel
- Put your panel in a vise or have someone hold it for you with the edge facing up
- Place the veneer on the edge with overhangs on both ends and slight overhangs on both sides
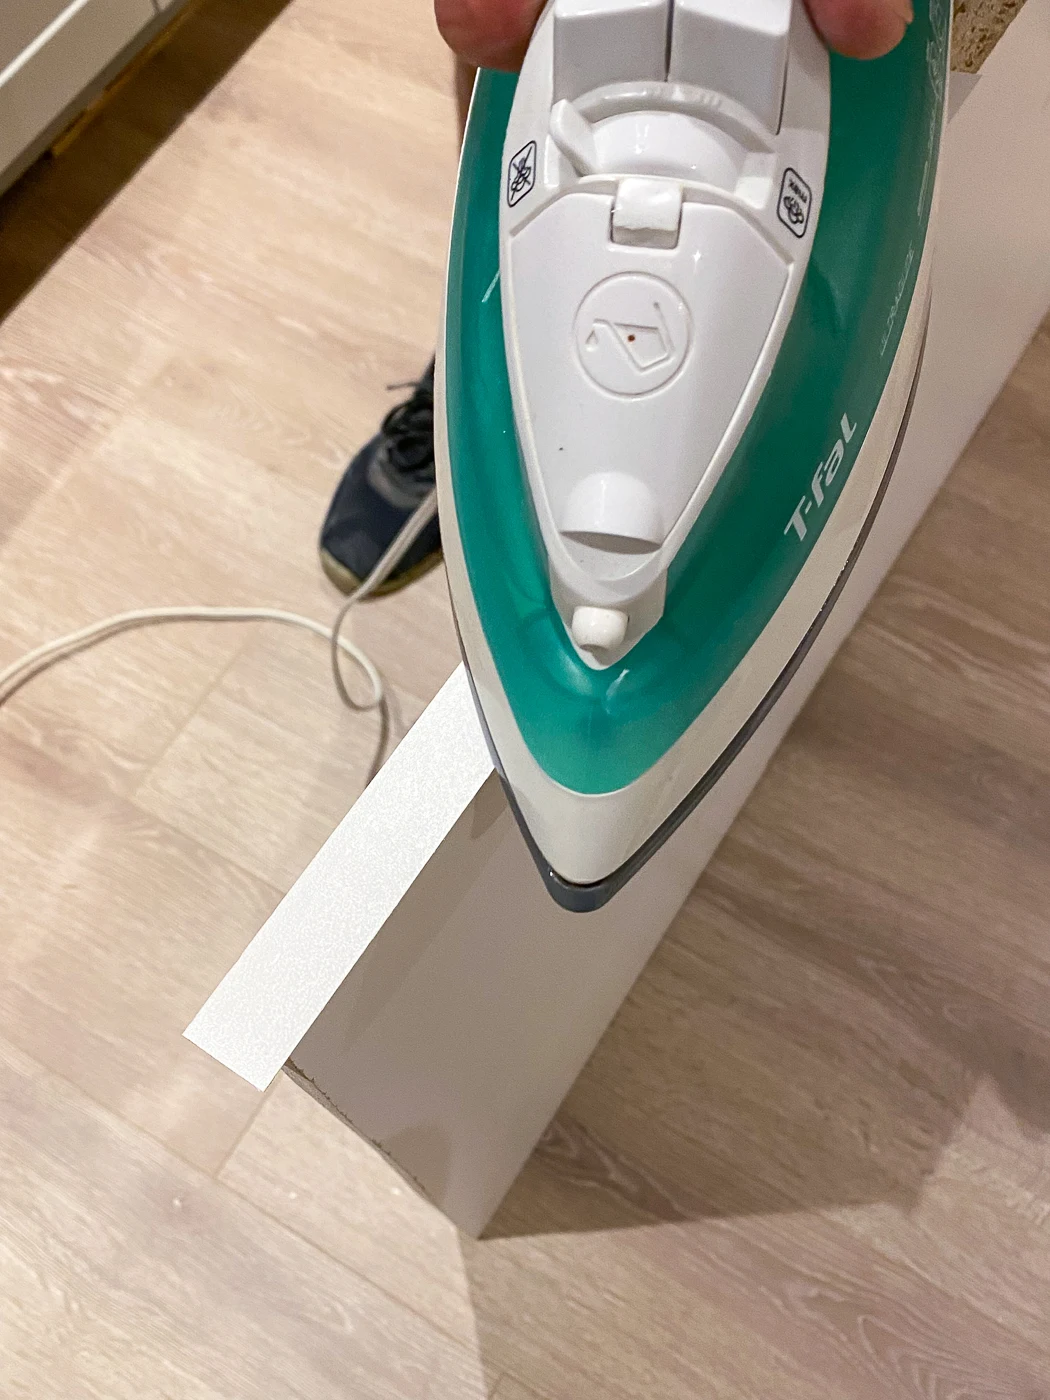
- Slowly run your iron along the veneer in one direction. Check to make sure the glue melts and the veneer adheres to the panel
- Iron the veneer a second time, applying more pressure as your iron
- Take a small block of wood and run it along the veneer, applying pressure
- Let the veneer panel cool off slightly
- Using a utility knife with a very sharp new blade, trim the excess veneer. We found it was easier to turn the panel upside down and place it on a hard, cuttable surface. Using the knife to cut the veneer from the underside ensured the line wasn't wavy and we didn't cut too much off
- Take some sandpaper and gently sand along the edges
Step 5: Painting Melamine Cabinet End Panels
With the end panel finished with veneer edging, you can proceed with
painting. If you have white cabinets, you can skip this step entirely.
Painting melamine is easy to do and requires just a few steps. Here's my
tips for achieving a finish that looks just like your factory-finished
cabinetry.
- First, sand the melamine and the veneer edging with a medium grit sandpaper. This will allow the primer and paint to adhere strongly to the panel.
- You can use a paint and primer all in one but I decided to apply a primer layer just to be sure there was good adhesion. Kilz is my favourite primer to use.
- The veneer edging didn't seem to take the primer as well as the melamine. I put one coat on the veneer, let it dry, and applied a second coat.
- Apply both the primer and the paint with a high density foam roller. Apply in a straight line motion, ensuring you overlap edges
- Use Behr Dynasty paint! This was my first time using this brand of paint and it gave a phenomenal finish! It gave 100% coverage on the melamine in just one coat. I only had to apply second coats to the veneer edging as, like with the primer, it didn't take the paint too well and appeared thin with just one coat.
- Allow your panels to dry 24 hours before installing them
You can see how opaque and consistent the painted finish looks. I used an
Eggshell finish as recommended by the person at the paint counter and it was
a perfect match to the cabinetry.
Step 6: Install the DIY Cabinet Gables
Depending on where you are placing the gables, you can use nails, cabinet
screws, or construction adhesive for installation.
You can nail or screw through the face of the panel, or from inside a cabinet
into the back of the panel (just make sure your nails aren't too long and poke
out the face of the panel!). If you are nail through the face of the panel,
you can put
DAP filler
over the holes and paint them.
If you are using adhesive, clamp the panels to adjoining cabinetry if possible
while the glue is drying.

If you are using the gables to support a countertop, you'll also need to add a
"cleat" in between the gables. We used a 4" strip of melamine as our cleat and
just screwed it into the studs. The top of the cleat aligns with the top of
the panels. The countertop will be screwed in on three sides, into the two
gables and into the cleat.

Additionally, if your countertop is very long or very heavy, you may need
another gable in the middle to support the weight of the countertop and
prevent it from sagging. Here's
an example of a middle gable
we made out of plywood.
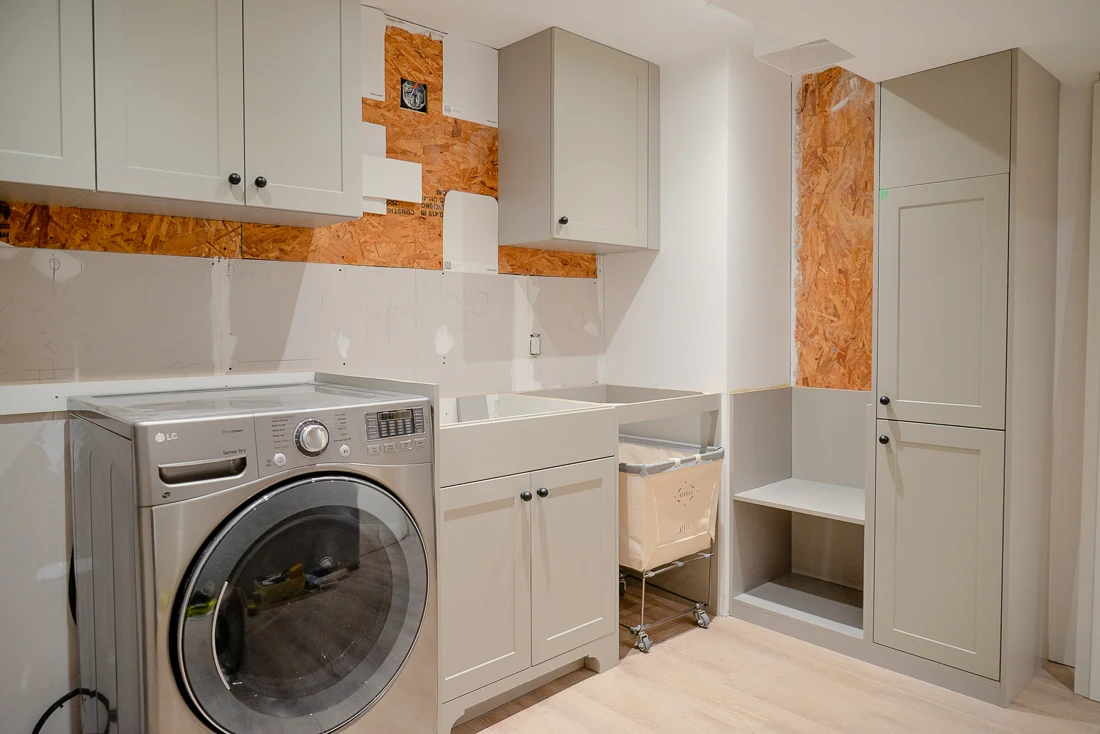
And here is the cabinetry with all of our DIY end panels installed. We built
eight in total: two around the washer and dryer, three around the rolling
cart, and three around the short shelving which will hold our baskets.
The two tall panels on either side of the tall cabinet (which is actually
two upper cabinets made to look like a single cabinet) were store bought but
you can't tell the difference from the panels that we made.
We also used our melamine material to
make filler panels. Can you spot them? There's filler panels at the side of the upper
cabinet, as a decorative toe kick on the sink cabinet, and at the top of the
tall tower. Once you know the method for building and painting a DIY cabinet
end panel, you can use them everywhere!
With these cabinet end panels, our laundry room looks much more custom and
high end. The countertops have just been measured and wee have a few more
details to take care of but this laundry room is so close to finished!


