ORC Week 7: Still Covered In Drywall Dust
Did time just speed up? Because it feels like we just started our basement
laundry room renovation yesterday and yet here we are seven weeks later with
only one more week left till the end of the One Room Challenge. I'm not one to deny the inevitable so I'm just going to call it: we won't
be finished on time.
If you're new to Rambling Renovators, welcome! My name is Jennifer.
I help people create functional and beautiful homes, I help brands create digital content strategies, and I've been writing
this blog since 2007. I live with my husband and daughter in Toronto,
Canada in a centre-plan, colonial style house that we've infused with the
fresh traditional style we love. We DIY all our renovations and have a
fondness for architectural details, built-ins, and classic decor. See our
home renovations here.
Note: affiliate links have been used in this post for shopping
convenience.
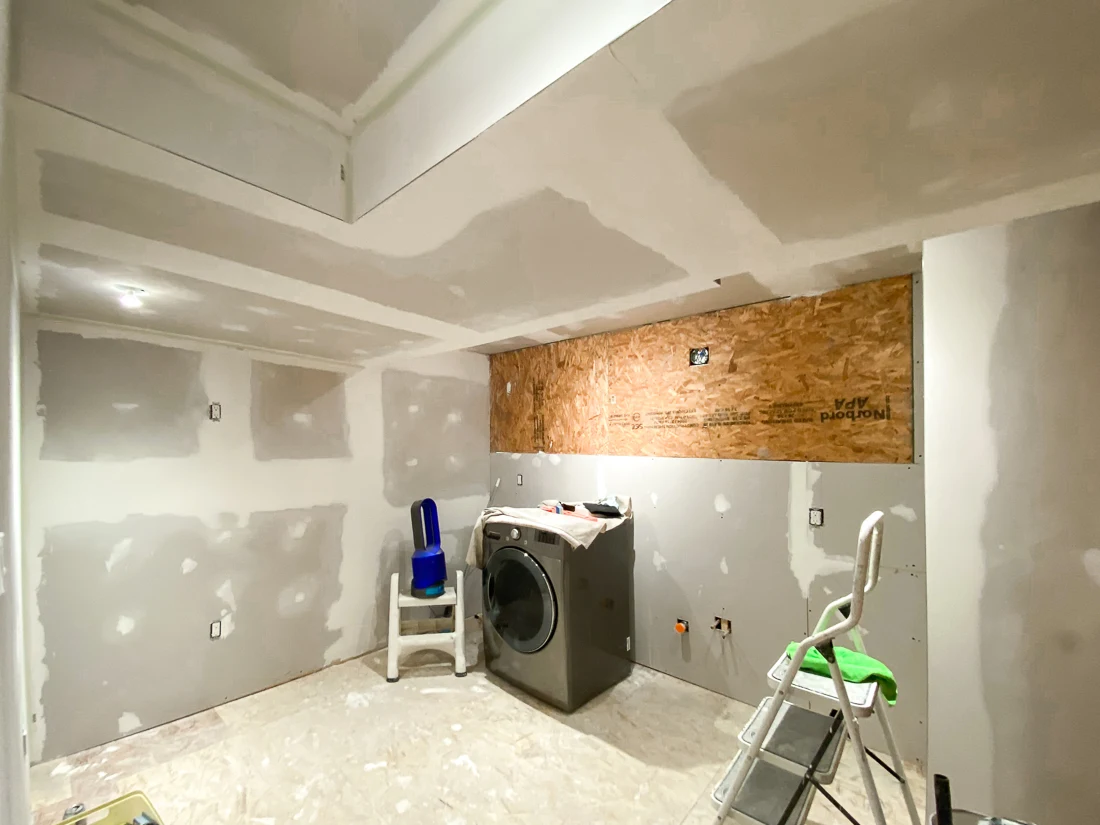
I'll apologize now for the terrible quality of these photos. But that's
what you get when everything in my house is covered with a thin film of
drywall dust.
Drywall Installation
Last we left this room, we had just loaded up 12 sheets of drywall in The Home Depot Canada
rental van, brought them home and lugged them down a narrow staircase, and
installed half of them, most of them overhead as we contended with a room
that had three different ceiling heights. Our middle age bodies are still
feeling the pain.

Here's a picture of a man who is thinking "Never again will I do drywall".
This having been my first experience with lifting drywall sheets, mudding,
taping, and sanding them... I have to agree.
Drywall is dirty, hard work. We are far from experts at it so our
installation was adequate. As Sean always reminds me, every layer gets
progressively better, so though our seams were slightly large and uneven, we
hoped that three layers of mudding and taping would make our work look
better.
What we couldn't make look any better? Me after an hour of sanding.
I have taken more showers this week than any time in my life. We have about
two more days of mudding, waiting, sanding, mudding, waiting, sanding left
to do and we will finally be done with the drywall. I cannot wait to be
through this phase of the project.
Inside Corner Bead Installation Tips
One bright spot was the installation of the inside corner beads. We were
skeptical that we could get the corners looking great but it was so much
easier than we expected. We used a
paper-faced metal inside corner bead on all of the inside ceiling and wall corners.
Here's some quick installation tips for inside corner bead:
- Measure and cut your inside corner bead first
- Laying your trowel parallel to corner, use a small trowel to mud from the corner outwards
- You don't need a thick layer of mud, only about 1/8" thick. Your mud should extend about 3" from the corner
- Mud both sides, working from the corner outwards. Then place your trowel perpindicular to the corner and smooth the two sides from the top downwards
- Using a damp cloth, gently wet the paper corner bead. This will make it pliable and easier to sit in the mud
- Take the corner bead and lay it onto the mud. Use your finger to gently push the metal into the corner. Then use the edge of your trowel and use it to further push the metal into the corner
- Starting on one side, drag the trowel over the paper from one end to the other. Ensure the paper has no bubbles
- Repeat on the other side
It might not seem like much progress from last week, but this was a huge
hurdle. As soon as we're done with the sanding, we can quickly move onto
painting and then flooring. We might not finish in time, but we will
finish and I will keep posting. I hope you'll continue to follow along for
the journey!
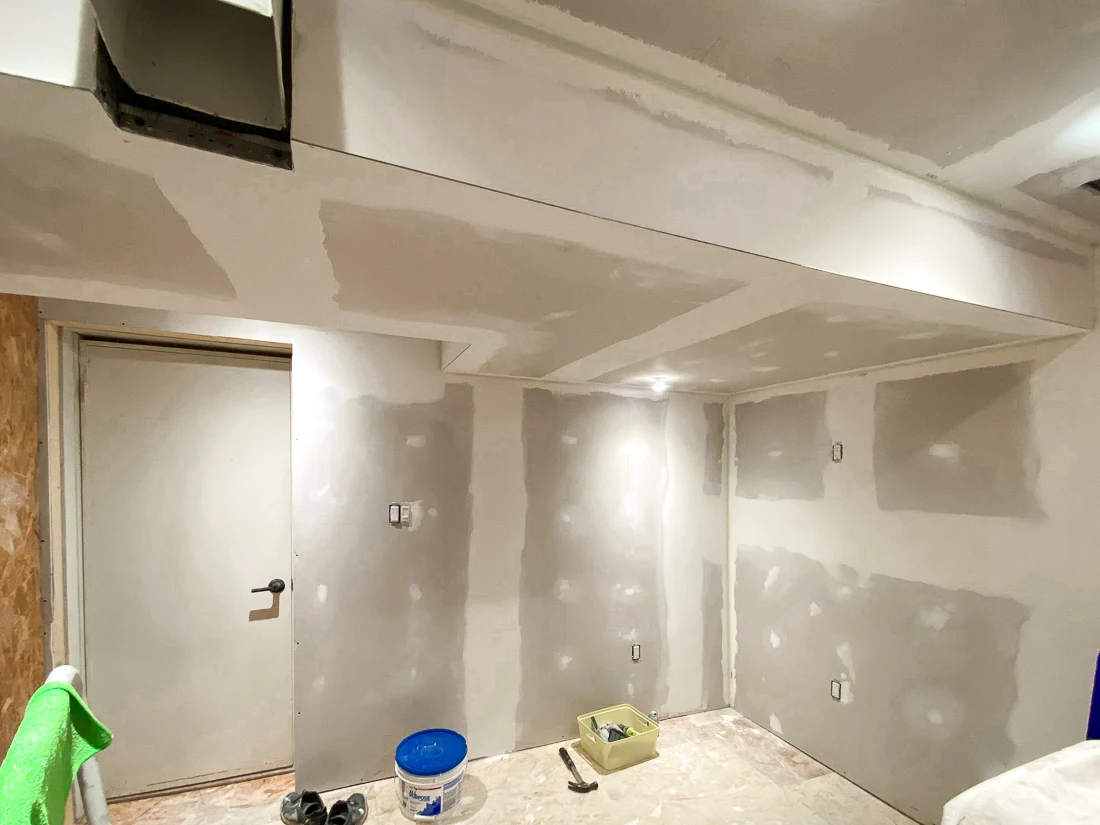
Here's one more look so we can appreciate just how far we've come. Here's
a Before and a Current view from the door:
And one more of the opposite wall:
What a difference! Visit the
One Room Challenge blog
to see how the other participants are doing.


