ORC Week 3: How To Level A Concrete Basement Floor
Week 3 of the 8 week
One Room Challenge
has come and gone and luckily we have some progress to show for it!
If you're new to Rambling Renovators, welcome! My name is Jennifer. I
help people create functional and beautiful homes, I help brands create digital content strategies, and I've been writing
this blog since 2007. I live with my husband and daughter in Toronto, Canada
in a centre-plan, colonial style house that we've infused with the fresh
traditional style we love. We DIY all our renovations and have a fondness
for architectural details, built-ins, and classic decor. See our home
renovations
here.
It might seem a little late, but recently, I had an epiphany. I realized that
our laundry room renovation was very much a construction project.
'Construction' as in we're literally building the room ourselves.
The distinction is important because we've never built a room from scratch
ourselves before. Yes, we
tore our bathroom down to the studs
and laid new drywall and tiles. We've also built single walls in
our old bedroom
and
in the basement to improve the layout. We've
built a shed,
laid down flooring, and
applied moulding
to entire rooms. But build an entire room from the concrete room up? This is a
first.
Week 1
and
Week 2
were all of the prep work: demolition and getting some necessary HVAC and
electrical work done.
For Week 3, we tackled a DIY project we've never done before: leveling the
uneven concrete floor in the basement
How To Level A Concrete Basement Floor
Uneven floors in the basement is a problem many homeowners have to face.
Before you lay down any kind of flooring material, from new vinyl floor
tiles, to laminate flooring, or ceramic tile, you'll want to ensure that
your floor is as level as possible.
If you have uneven concrete slabs, that unevenness will impact every
subsequent layer you place on top. Your vinyl tiles might not stick. Your
laminate may feel bouncy. And your tiles may crack. You'll want to deal with
needed concrete repair and create a consistent, level concrete slab before
laying your floor coverings.
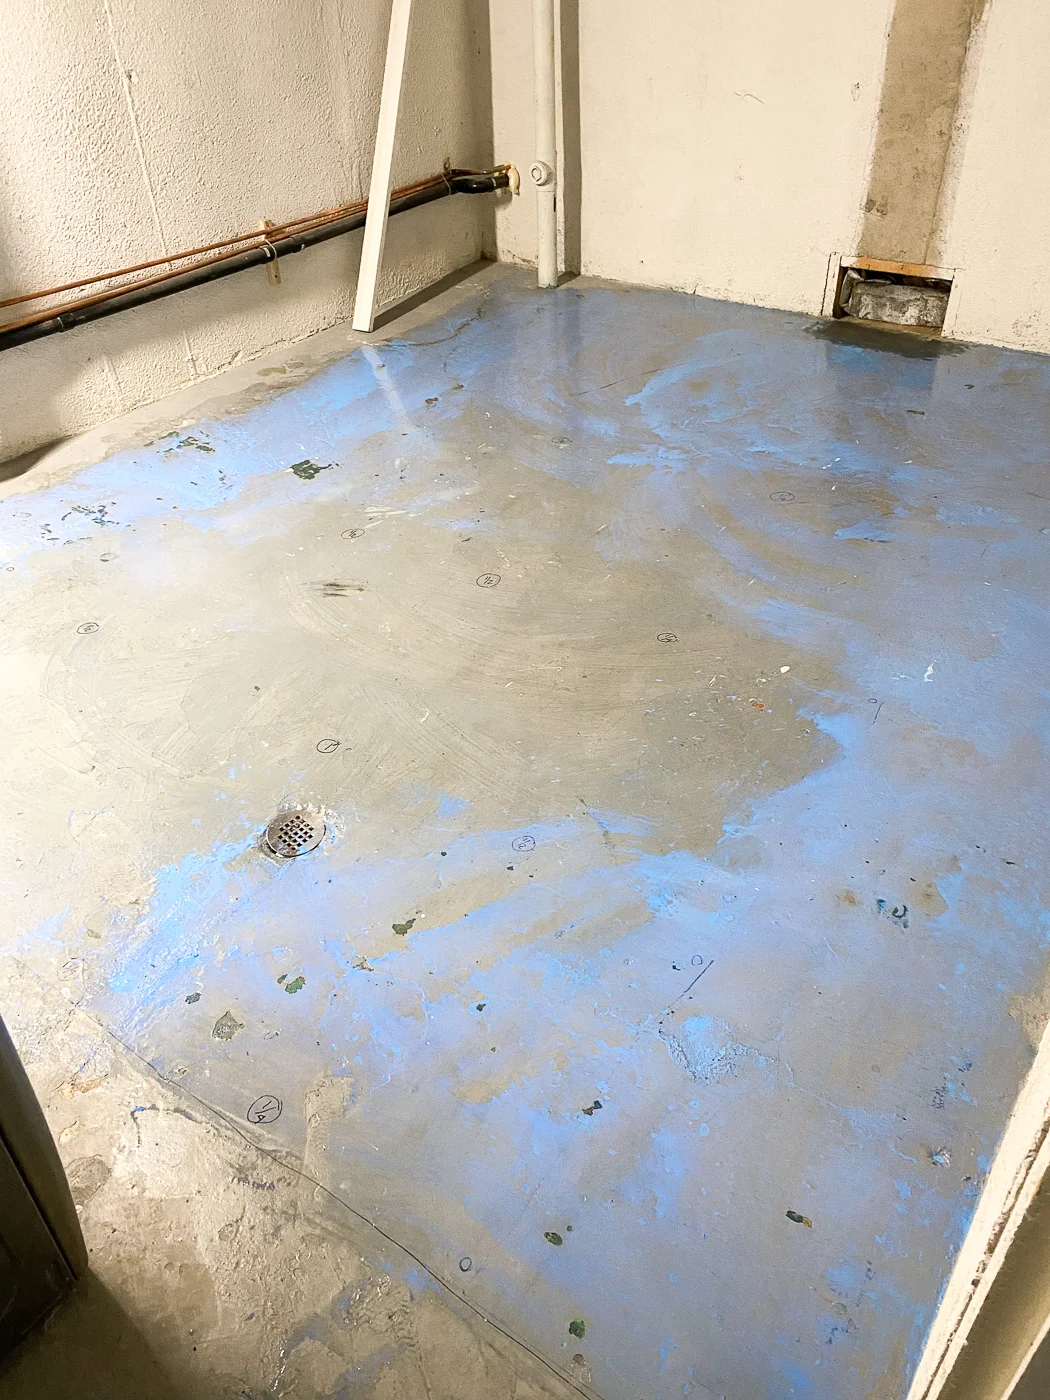
The floor in our laundry room didn't seem too unlevel. There weren't any
noticeable cracks and you couldn't feel major dips or a high spot when
walking on the floor. However, the laundry room did have an existing floor
drain with a slope towards the drain.
This was our dilemma: we wanted to level the floors enough so that our floor
covering would sit properly, but maintain a slight slope so that should a
flood occur, the water would still divert to the lowest point in the room
and flow into the floor drain.
The first step in getting the concrete surface ready for floor coverings was
to identify what unevenness existed. Did the entire floor need leveling or
just a small area?
How To Measure An Unlevel Floor
To measure an unlevel surface, you need - surprise! - a level surface to
measure it against. You'll want to use something that spans as much of your
room as possible and is rigid. Here's a few things you can use as a long
level:
We created our own level by using a piece of MDF baseboard that we already
had. To identify the gaps, we:
- laid the baseboard on its narrow side on the floor
- placed an I-beam level on top of the MDF. Raised or lowered the MDF to get it sitting level
- measured the gap from the bottom of the MDF to the surface of the concrete. Wrote the gap measurement on the floor
- move the baseboard around the entire room, identifying any gaps/unevenness in the concrete slab floor
We didn't have any high spots but did have some low spots in the centre of
the room. If we did have high spots, our next step would be to take a
concrete grinder and grind down those spots and make them level. For the low
spots, our gaps measured from 1/4" to 1" in height.
Pro Tip: take a wooden dowel and cut pieces to the height of your
gaps. Hot glue those pieces to your cement floor. This creates a visual
reference to tell you where level is. Just add new cement until you reach
the tops of your dowel pieces.
Self-Leveling Cement
The best solution for the unlevel floors in our laundry room was to use a
leveling compound. Floor leveling compounds are mixed concrete products used
to fill in low areas and imperfections on traditional concrete. These
compounds may require the use of tools to finish or level, or they may be
self-leveling and require minimal tools.
Your local big box store will have all the materials you need to complete
this project. We used
Sika Level 125CA
from The Home Depot. The bag might be labelled self-leveling cement,
self-leveling concrete, or self-leveling underlayment.
The amount of cement you need will depend on the square feet you need to
cover and the thickness. The back of the bag will tell you how how much a 50
lb bag of self leveler cover at different thicknesses.
Prepping The Room for Concrete Leveling
At the very beginning of this post, I mentioned that means we are
constructing the room - we're dividing this large laundry room into a
laundry and separate utility room. That means we currently don't have the
fourth wall defining this space.
In order to prevent the self-leveling cement from spilling into the utility
room, we had to create a temporary 'dam'. Using lumber we had on hand, we
laid the wood on the floor where the laundry room will end. We applied
caulking where the wood met the floor to prevent seepage.
We also applied spray foam around the floor drain. The spray foam expands
but once dry, you can cut it back to get close to the drain.
Before you use self-leveling concrete, its recommended that you apply a
concrete primer
to your old cement floor. The primer is designed to absorb into the surface
of the concrete, filling imperfections and creating a smooth surface for the
self-leveler.
How To Use Self Leveling Concrete In A Basement
Materials:
Steps:
- Clean and vacuum your concrete floor
- Apply the cement primer with a stiff bristle brush. Allow the primer to dry for 3 hours or overnight.
- Add the required amount of water to the bucket
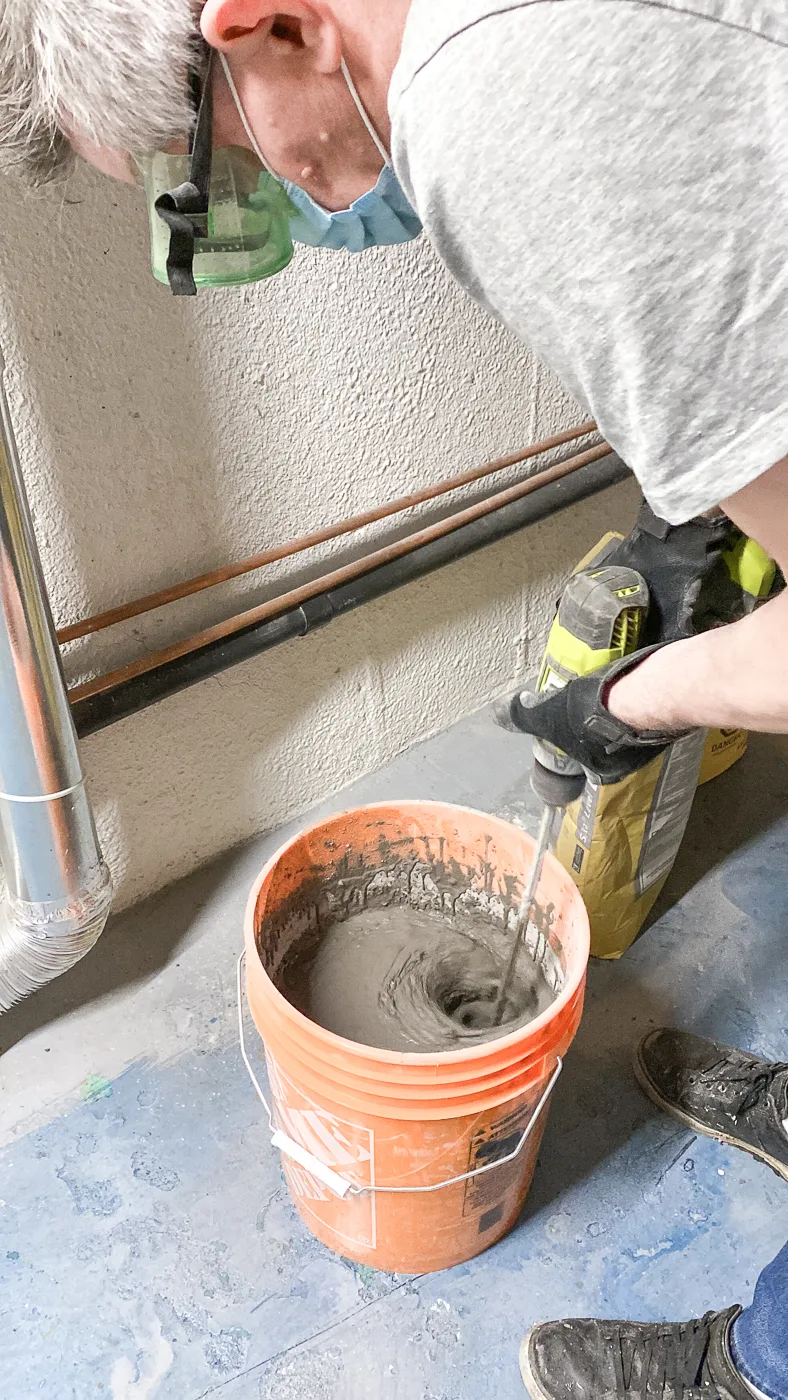
- Be sure to wear your mask and goggles. Add 1/3 of the powdered concrete into the water. Mix thoroughly with the drill. Add the next 1/3 and mix. Continue adding the entire bag and mixing for the prescribed amount of time.
- The mixture should be runny but not thin liquid consistency. Pour the mixture where you need it, starting in your lowest spots.
- Use a trowel to push or drag the mixture
- If you are using more than one batch of mixture to cover a large surface area, pour the mixture over the wet edge of the previous batch. Do not allow edges to set before you add the next batch
- Allow the floor to set for 24 hours
We were slightly nervous trying self-leveling cement ourselves but it proved
to be an easy project. It dried nice and hard and instantly we felt the room
much improved. In the end, we decided to maintain a slight slope to the
floor drain, which is why the tops of our cut dowels are still visible.
If you are going to try self-leveling concrete yourself, here's a few things
to keep in mind:
Tips for Using Self-Leveling Cement
- If you are using a drill with attachment to mix your concrete, use either a corded drill or have extra charged batteries on hand. It takes about 5 minutes to mix each 50 lb bag thoroughly and will drain your batteries very fast
- Don't use "fast setting" or quick setting self-leveling concrete if you're an amateur. The concrete will set too fast and you won't have time to trowel or spread it out before it starts to set. Opt for a compound with a longer drying time to be safe.
- It's a good idea to have two people to do this project. One person can be pouring and spreading the concrete while the other person can be mixing up the next batch.
- If you are unsure how many bags of self leveller you will need, buy more than enough and return the extra bags. Otherwise, you'll have to come back the next day and pour the second batch like we did!
With a smooth surface underfoot, we can now move onto more exciting tasks.
Laying the subfloor and framing comes next!
Check out the
One Room Challenge blog
and see what the other guest participants are working on.


