How to Make A DIY Spice Drawer Organizer Insert
Do you organize in January? No month gets me more excited to clean out the
closets, organize the kitchen drawers, and purge all of the excess than
January. We've been having a lot of cold and snowy weather lately which makes
it a perfect time to tackle a messy area in our home and this time, I've set
my sights on our spice jars.
Spice Jar Organization
Do you have spices in your kitchen that are difficult to access and take up valuable real estate? Spice organization doesn't have to be complicated or expensive. With just a few materials and simple tools, you can create a custom-made insert for your drawers that will make accessing and storing your spices easier than ever before
We use our spices daily so we needed a solution that provides easy access to our spice bottles and stays organized with little effort. And trust me, I have tried many spice storage solutions from tiered racks to an on-the-counter spice rack organizer to just tossing the spices haphazardly into kitchen cabinet drawers. But I think I've finally found the easiest way to store spices and it cost less than $10!
Note: Affiliate links have been used in this post for shopping convenience.
DIY Spice Drawer Insert
Amongst all of the different ways I've tried to organize my spices, having a dedicated spice drawer with a DIY spice drawer organizer has proven to the best and easiest solution.
Spices have a way of moving about so allocating one of your smaller drawers to spices and only spices is a simple solution. The benefits are obvious:
- You can build a custom spice drawer insert in a tiered configuration that is a perfect fit to your kitchen drawer. Use as many tiers as you need to hold all your favorite spices
- You can place your spices in a drawer right beside your cooking area and have them within arm's reach
- You can use your existing spice jars and cut your slanted spice storage organizer to fit their dimensions
- With a tiered spice drawer insert, all your spice labels are visible and can move the jars in and out with ease
- A DIY spice drawer insert is a modular system. Only want two tiers? You can do that. Want to remove the organizer and use the drawer for something else? You can do that too.
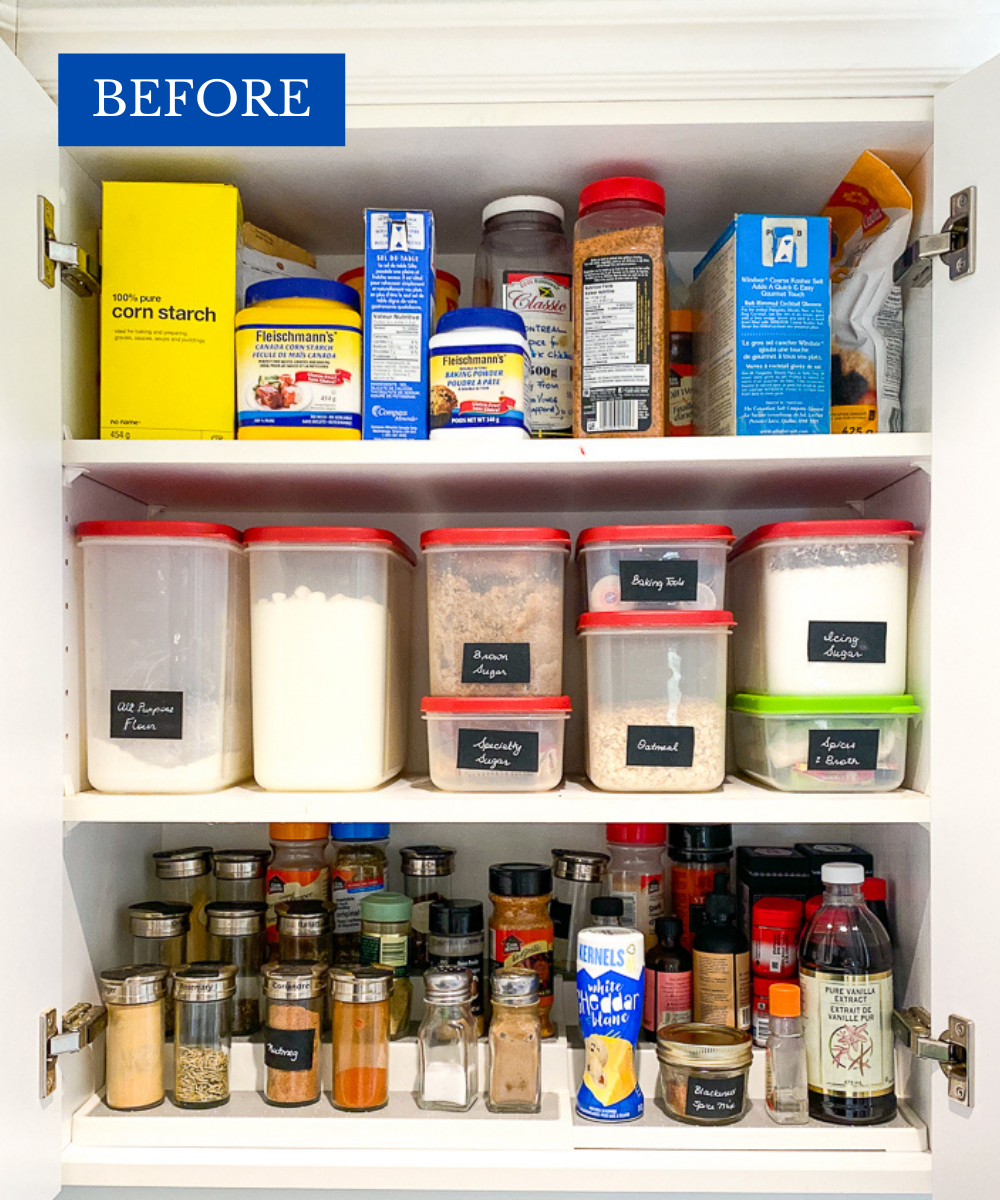
Up to now, we were storing our spices in an upper kitchen cabinet on
a 3-Tier non-skid spice rack cabinet storage organizer. It had some definite shortcomings. The jars would fall over easily as you
reached over the rows and it was difficult to see the spices at the back of
the kitchen cabinets.
I also was not fond of the mismatched jars and how every time we added a new
spice, things just kept getting more difficult to keep organized. It was
time to give these spices a new home and find an organizing system that
wouldn't use as much space and was easier to use.
Before I get into how to make a spice drawer insert, let's talk about the spice jars themselves. You should really have your spice jars figured out first, whether you're using your existing jars or moving your spices into a set of new jars, so you can base your dimensions on the jars themselves for a perfect fit.
I've talked about the glass spice jars I use (similar product here) before but let me reiterate why these are the absolute best spice jars:
This is a quick, small project that is thoroughly satisfying. How do you make a spice drawer insert? It's a surprisingly simple project that uses only a few materials, but you will need to use a table saw (and your math skills!), so be sure you're comfortable with that.
SHOP THESE PRODUCTS:
12 Pack Glass Spice Jars
-
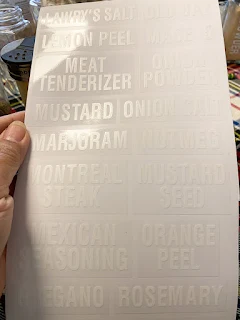
Preprinted Spice Jar labels -
Plastic Funnel Set -
Magnetic Measuring Spoons -
Similar Set with Jars and Labels Included
The Best Spice Jars
Before I get into how to make a spice drawer insert, let's talk about the spice jars themselves. You should really have your spice jars figured out first, whether you're using your existing jars or moving your spices into a set of new jars, so you can base your dimensions on the jars themselves for a perfect fit.
I've talked about the glass spice jars I use (similar product here) before but let me reiterate why these are the absolute best spice jars:
- they are made of glass and are easier to clean and more durable than plastic spice jars. You can also place and remove labels on the jars more easily
- at 4 oz, they are a good size and hold an adequate quantity of most spices
- they are rectangular and won't roll around in a drawer
- they have a flip open shaker cap that easily opens with one hand
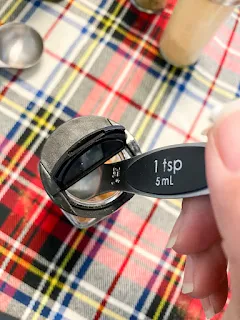
- you can flip one side and easily slip in a measuring spoon - you don't need to remove the cap first
- the jars sit nicely together and have a uniform appearance
- they are a good price and come as a set of 12. Two sets were all I needed for all of my favorite spices.
SHOP THE POST:
How to Make a DIY Spice Drawer Insert
This is a quick, small project that is thoroughly satisfying. How do you make a spice drawer insert? It's a surprisingly simple project that uses only a few materials, but you will need to use a table saw (and your math skills!), so be sure you're comfortable with that.
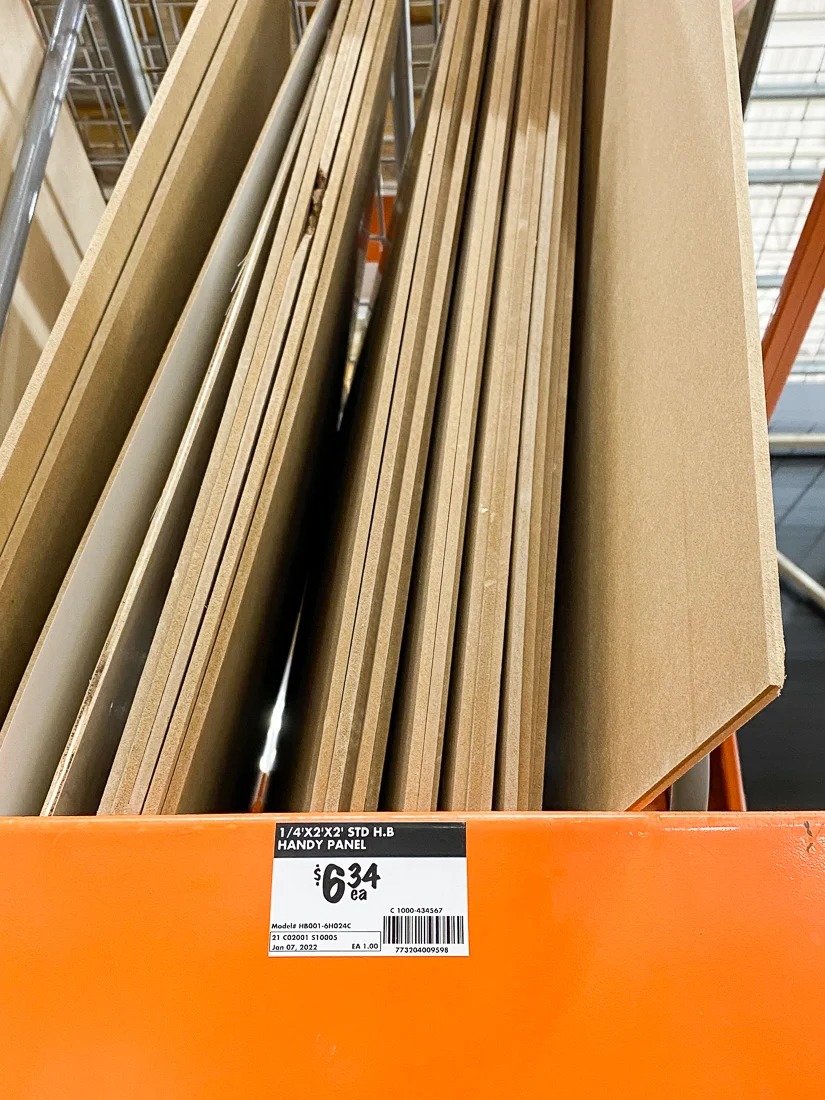
I've used a 1/4" medium density fibreboard (MDF) for this project. Some have suggested using cardboard for your spice drawer insert, but I think over the long run, cardboard is too flimsy and won't stand up to the daily use of a spice drawer.
You can get MDF in various sizes like
12"x18" or
2' x 4'. I used a 2'x2' panel for this project. It's a good idea to figure out the
dimensions of your rows first (see steps 3 & 4 below) and then buy your
panel so that you don't have a lot of wastage.
The instructions that follow are for making a 4-tier insert to fit a
standard 12" wide kitchen cabinet drawer. You may need to alter dimensions
to fit your own drawer.
tape measure
wood glue
table saw
Materials Required:
1/4" x 2' x 2' MDFtape measure
wood glue
table saw
Instructions:
- Measure the interior dimensions of your drawer. You will need the width and length of your drawer as well as the clearance. The clearance is the height from the bottom of the drawer to any obstructing frame above. My interior dimensions were 11" wide x 20 3/4" long with 3.75" clearance
- Measure the dimensions of your jars. My jars were 4 1/4" high x 1 3/4" wide
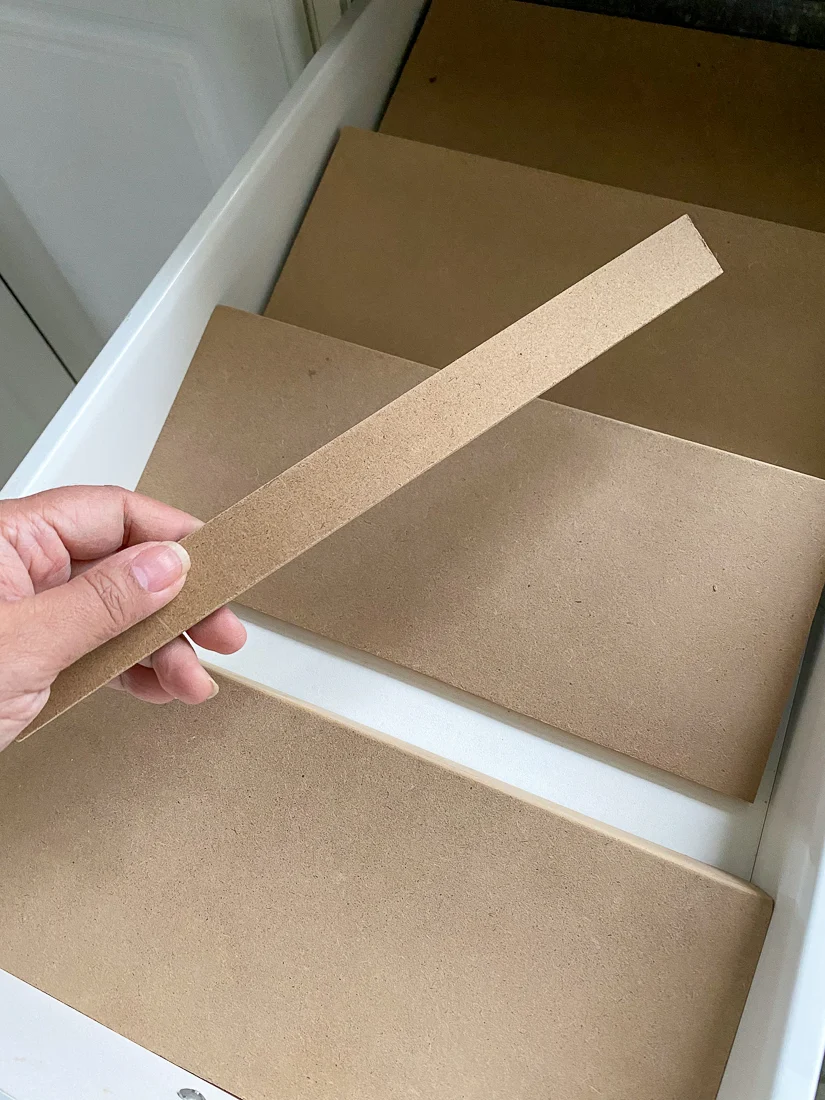
- Each slanted row is comprised of a backer piece (the long flat piece the jars will lie on) and a support piece (the short piece attached to the backer that allows the backer to lie on a slant). For the dimensions of the backer piece:
- Take the height of your jars and add 1/2" to get the height of the backer.
- Take the width of your drawer and subtract 1/4" to get the length of the backer.
- My jars were 4 1/4" high and my drawer was 11" wide so the backer was (4 1/4" + 1/2") x (11" - 1/4") = 4 3/4" x 10 3/4"
- For the dimensions of the support piece:
- Take your clearance and subtract the width of your jars and subtract the thickness of your material and subtract a 1/2". This will give you the height of your support piece.
- Use the same length as the backer
- For my project, my clearance was 3 3/4", my jars were 1 3/4" wide, and my hardboard was 1/4" thick. The dimensions of the support piece were (3 3/4" - 1 3/4" - 1/4" - 1/2") = 1 1/4" x 10 3/4"
- Determine how many rows you can have, plus any excess for a spacer piece. Take the interior length of your drawer and divide by the height of your backer. Round off to the lowest full number.
- My drawer was 20 3/4" long and the backers were 4 3/4" high. I could fit 4 rows and have about (20 3/4" - (4 x 4 3/4")) = 20 3/4" - 19" = 1 3/4" excess
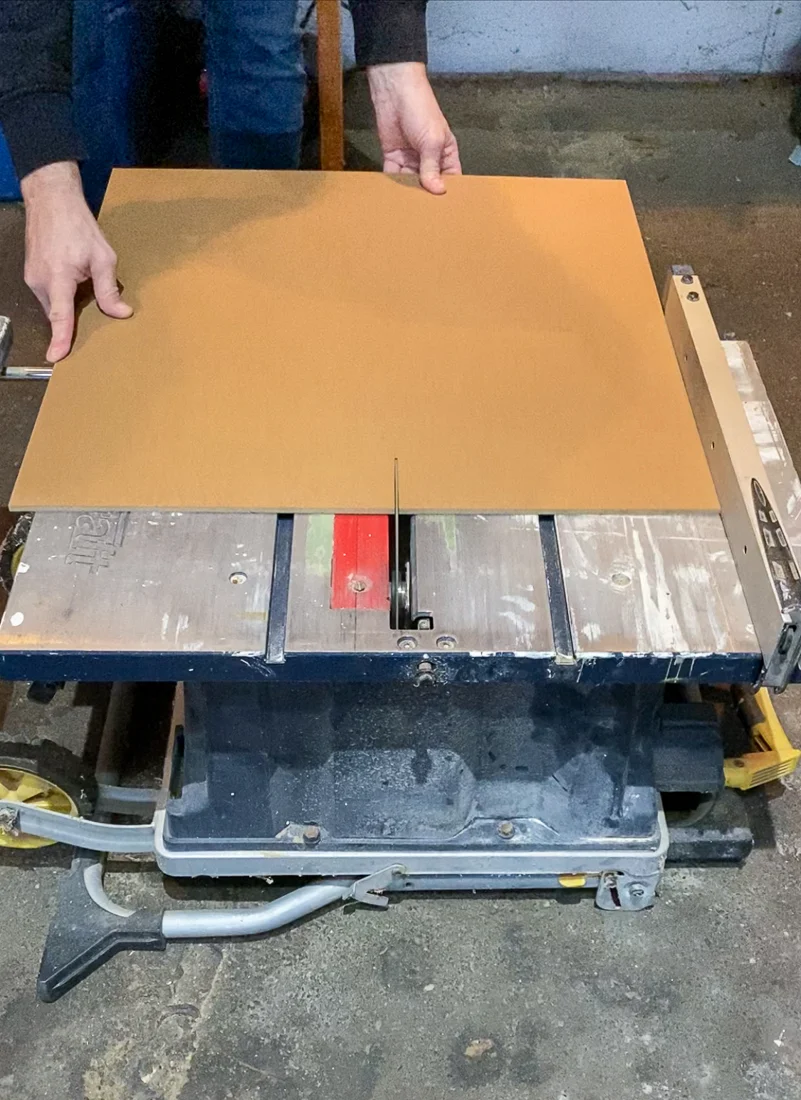
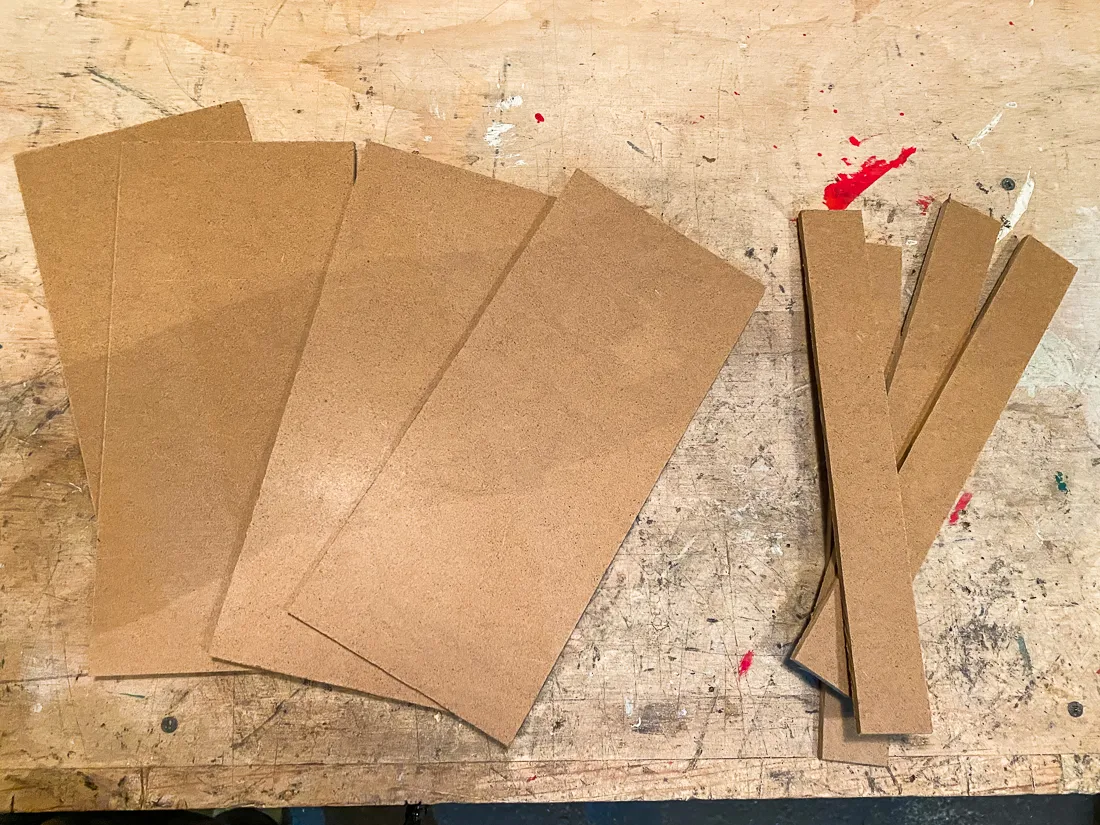
- Using a table saw, cut your backer pieces and your support pieces to the required dimensions
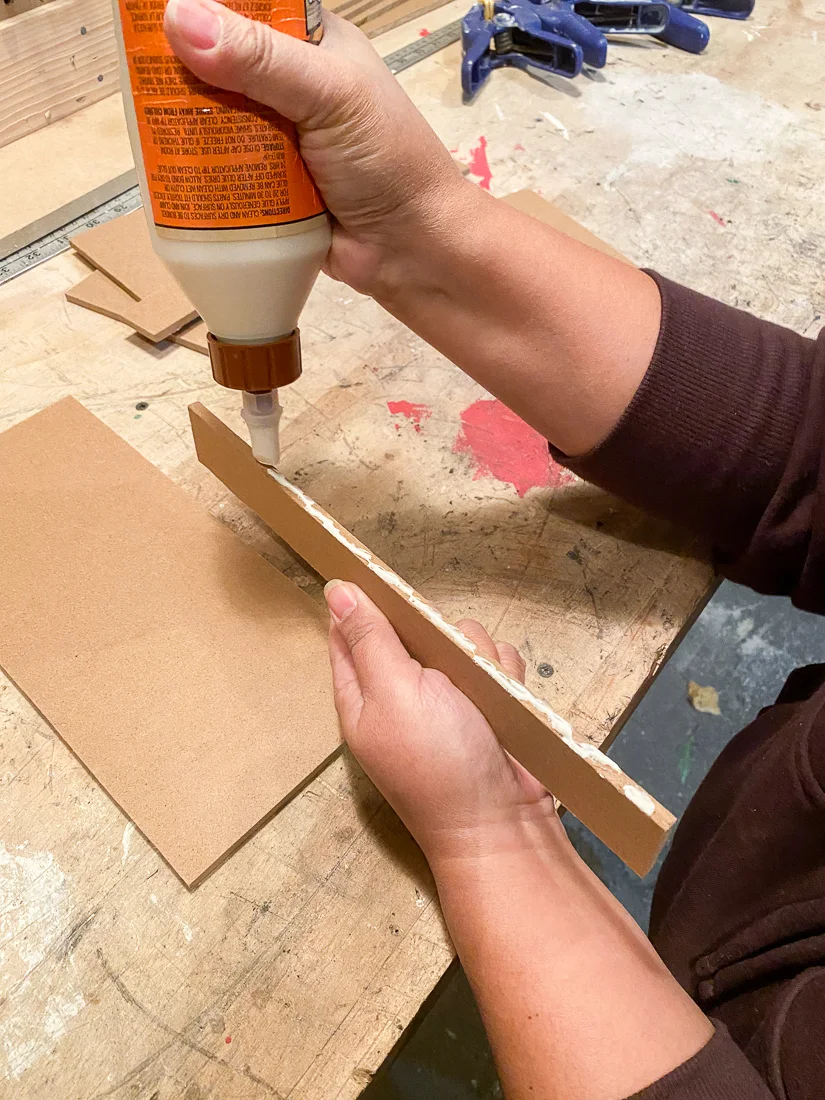
- Put wood glue along one long side of the support piece. Attach the support piece to the underside of the backer, at a 90° angle. Lay the backer side down on a flat surface and allow to dry overnight
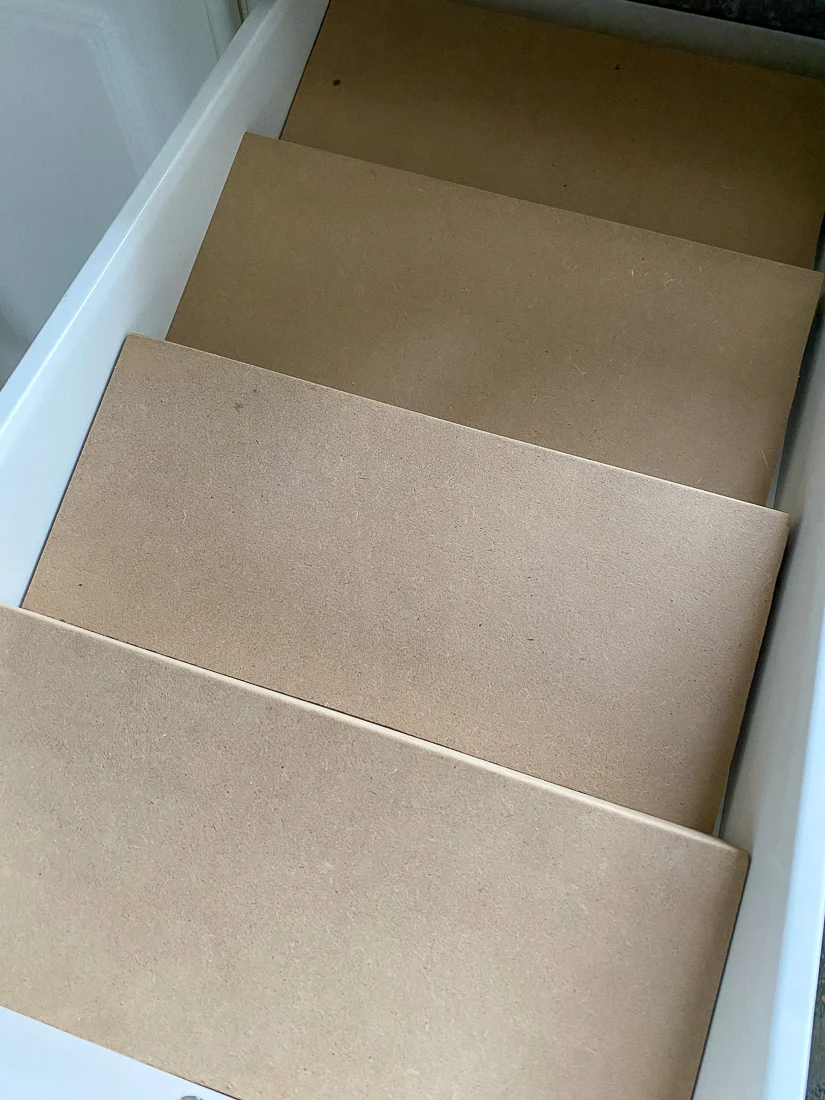
- Once the rows have dried, insert them in your drawer. Push them all the way to the back and determine if you need to cut a spacer piece to fill any gaps. I had about 1 3/4" excess so made a spacer piece measuring 1 3/4" x 10 3/4"
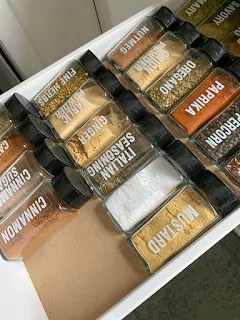
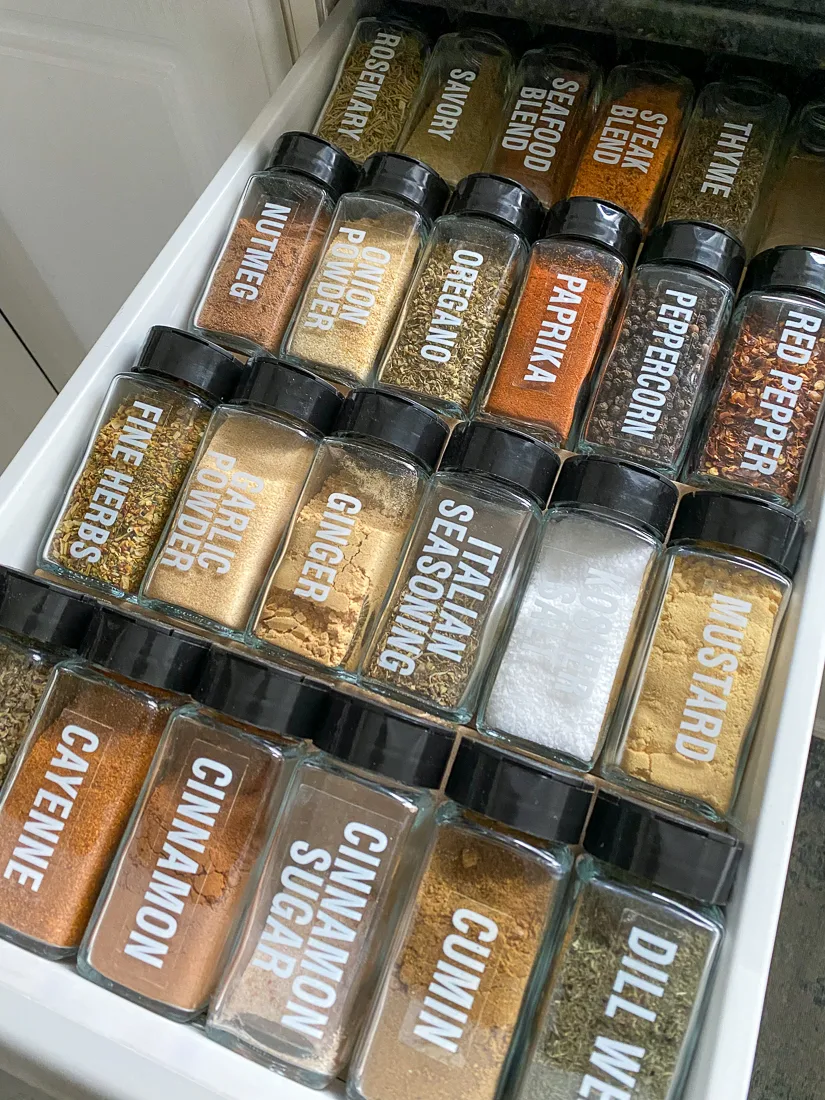
- Put the spacer piece at the back of the drawer. Insert the slanted rows. Label and insert your spice jars.
There was one small imperfection with this insert. The angle of the
support makes it such that the jars sit slightly away from the caps of
the rows below. This doesn't happen with the very first row though - the
jars sit against the drawer front. It doesn't cause any problems (the
jars move in and out with ease), but if you wanted to be really precise,
you could add another support or 'lip' to the front of first row like
they have on these
metal drawer inserts.
I had already thrown out the scrap materials by the time I figured out
this solution so I didn't fix it, but it's not a big deal. This spice
drawer organizer is already a million times better than the spice
organizing system we were previously using.
SHOP THE POST:
Moving the spices to the drawer also gave me an opportunity to better
utilize the kitchen cabinet for storage of our dry goods. You can see
the products I used in
this post, but suffice it to say, the food storage containers with chalkboard labels and the
non-skid revolving tray
have made a 100% improvement in this area.
This little piece of organization heaven has made cooking much easier and
more joyful. I find I'm using my spices more and being more adventurous
with spice combinations.
I'm not ashamed to admit I get a little thrill when I open the spice drawer
and see all the jars full, lined up, and in alphabetical order. Who doesn't
love pretty, organized things! Are you ready to make your own DIY spice
drawer insert?









0 comments