How To Make A Hand Painted Sign
A few weeks ago, we were asked to participate in the Home Depot DIY Blogger Summer Challenge. I can't quite share our project yet as there is a film crew coming here on Friday to film the building of it so its still in bits and pieces for now. I did want to show you one part that is finished and waiting: the hand painted signs.
Have you ever wanted to create your own sign but have terrible penmanship? One easy way to do it is use a program like Photoshop or Word or Powerpoint.
1. Paint your material (in my case, a piece of wood about 5"x20") in your base colour. Let dry.
2. Create your text in a document. Scale the font to the size you need. Since I needed my font really large, the entire word wouldn't fit on a single 8.5"x11" paper. So I printed the text on two sheets of paper and added a registration mark (the vertical line) which would help me line up the two sheets.
3. Using painter's tape, over lap the registration marks and tape the papers together. Turn the paper over and cover in coloured chalk.
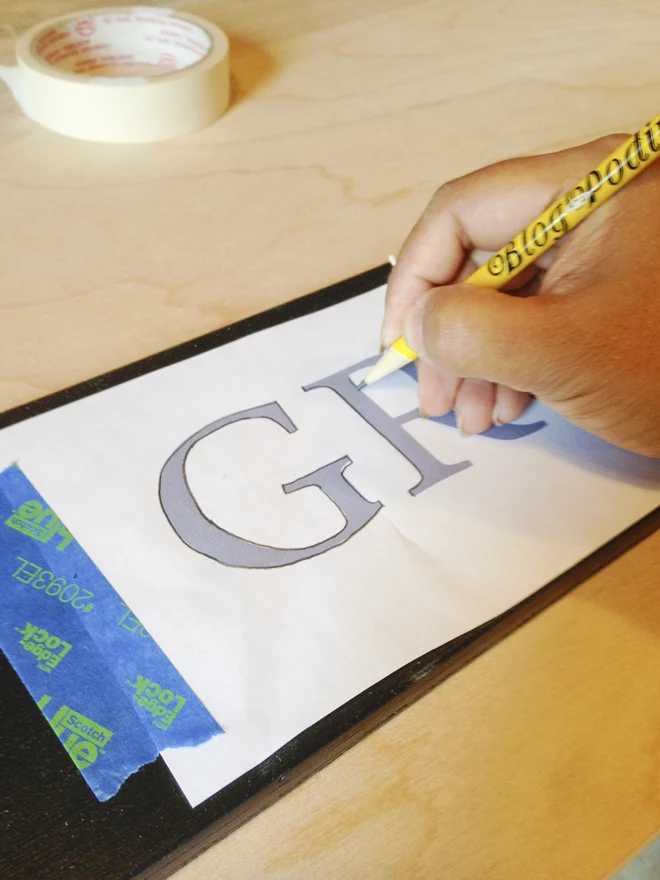
4. Position the paper right side up onto your material. Hold in place with painter's tape. Using a sharp pencil, trace the outline of each letter.
5. Remove the paper. You will see the chalk outline transferred on to your material.
6. Using a contrasting paint colour, paint in the letters by hand. Let dry then spray with a protective coat.
See? You can create a good looking sign even if your handwriting isn't so great. And don't worry if your paint technique isn't perfect. That just makes your sign more charming. ;) A few more days and I can show you what we made (though you can probably guess!).


